Compact grows improve when every major decision makes the next one easier.
The enclosure affects the environment. The environment affects how reliably the plant expresses itself. The root zone affects how easy it is to read feed and stress. The flowering method affects structure. The finish plan affects whether the harvest actually lands well. None of those are side topics, and none of them stay politely contained once they drift.
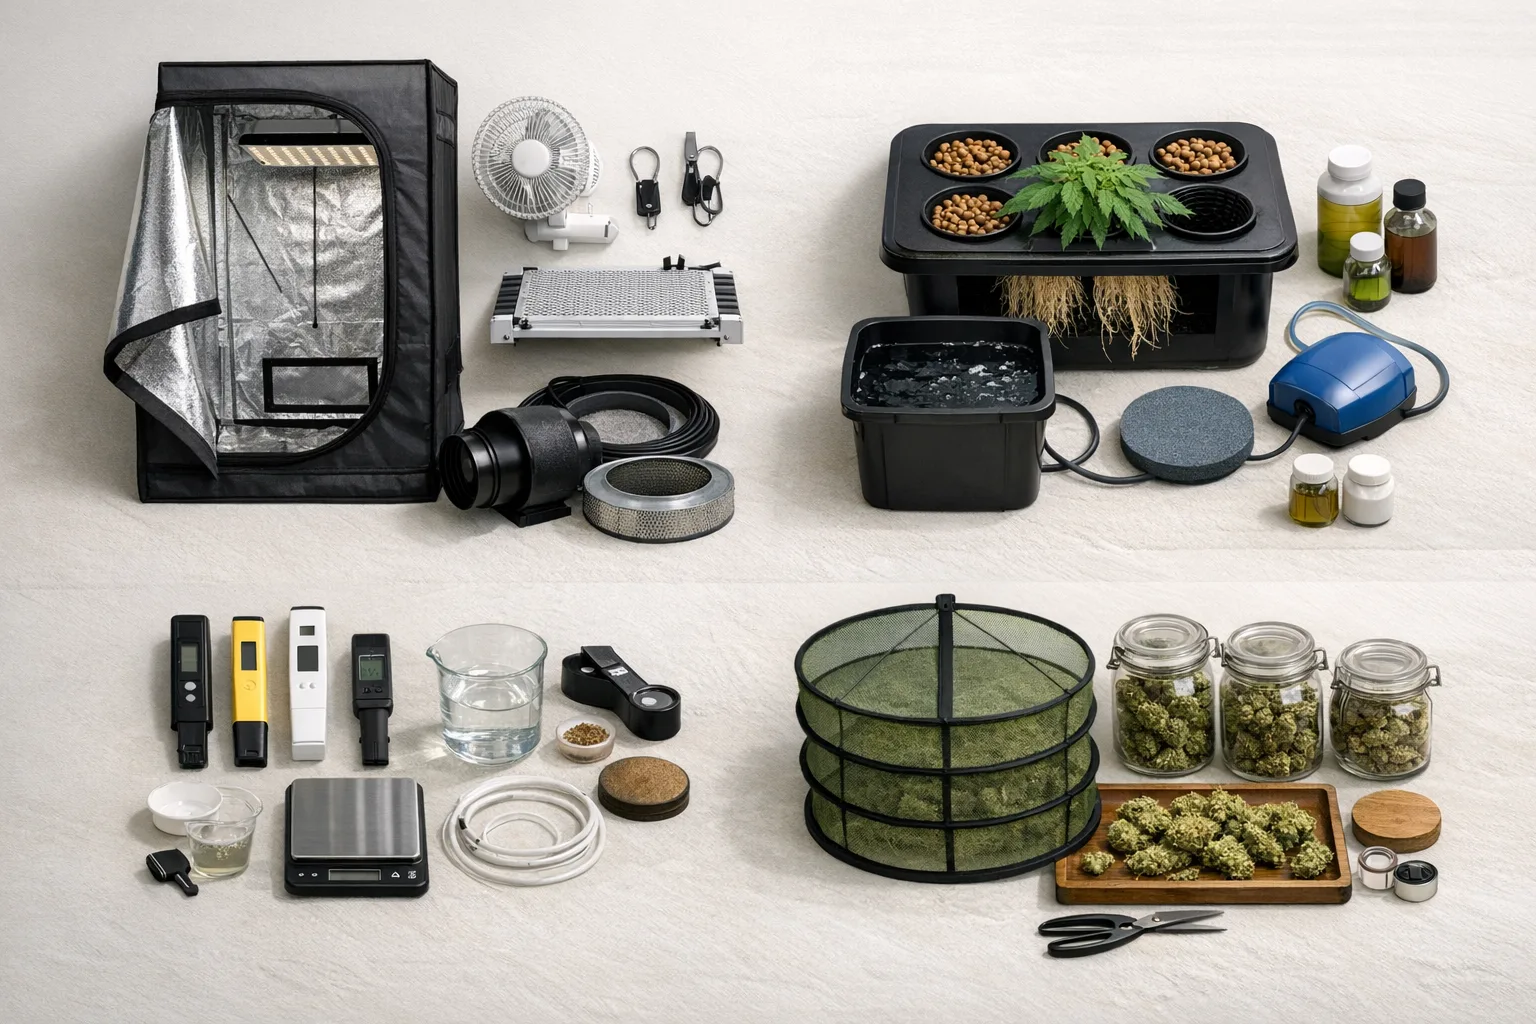
That is why ColaXpress treats the grow as one chain instead of a stack of isolated pages. If the room is noisy, the plant is harder to read. If the method is too large for the cabinet, the space starts lying. If the finish is unplanned, the whole system cashes out badly at the end. The system works because the decisions reinforce each other.
Readers who want the practical build order should pair this page with the compact grow setup checklist. Readers who want to understand why the root zone behaves so differently should start with what is DWC for the short definition, go next to DWC basics for beginners, then compare DWC vs soil for small cannabis grows if the method choice is still unsettled.