Equipment guide
Cannabis growing equipment that supports a compact, readable setup.
Cannabis growing equipment works best when the VGrow Smart Box, matching DWC kit, and support tools all stay disciplined. Good equipment makes the grow easier to read. Extra equipment should only stay if it earns its place.
Buy for clarity, not for fear. A compact setup gets better when every tool helps you read the room, the reservoir, or the finish more honestly.
Watch the lessons
The equipment decisions on this page, taught as one-minute films.
Three ColaXpress Shorts walk the same ground as this guide — what a first grow actually needs, whether the cabinet fits the space, and how the same box later dries the harvest. New films premiere on a set schedule; upcoming cards count down until they go live.
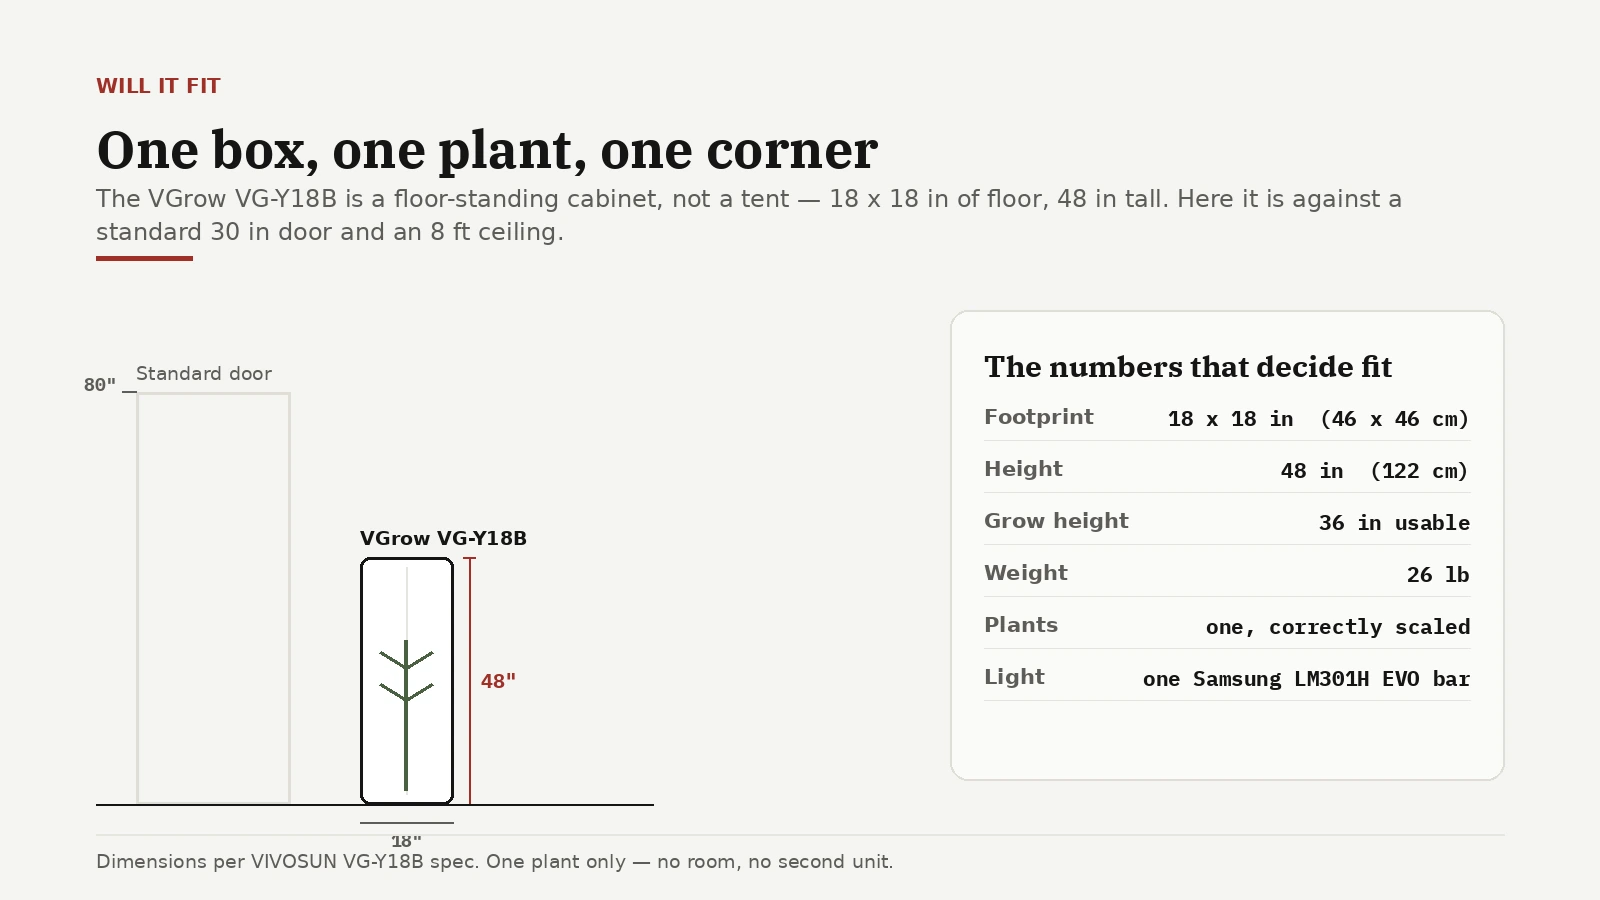
VGrow Size: Will It Fit Your Space?
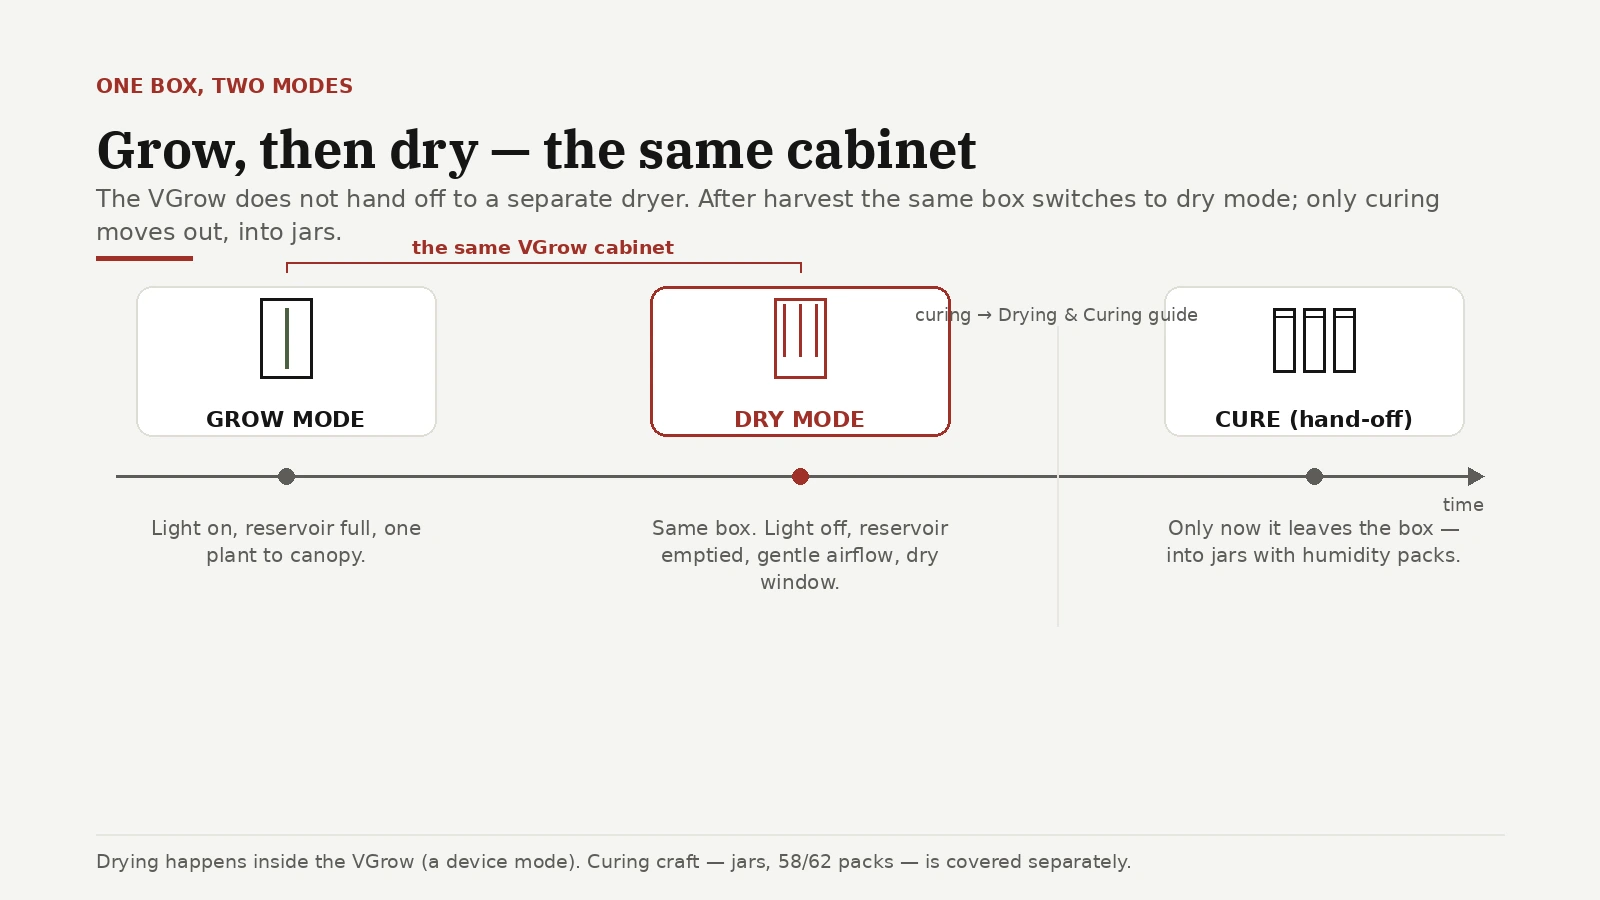
Can a Grow Cabinet Also Dry Your Harvest?
Flagship setup
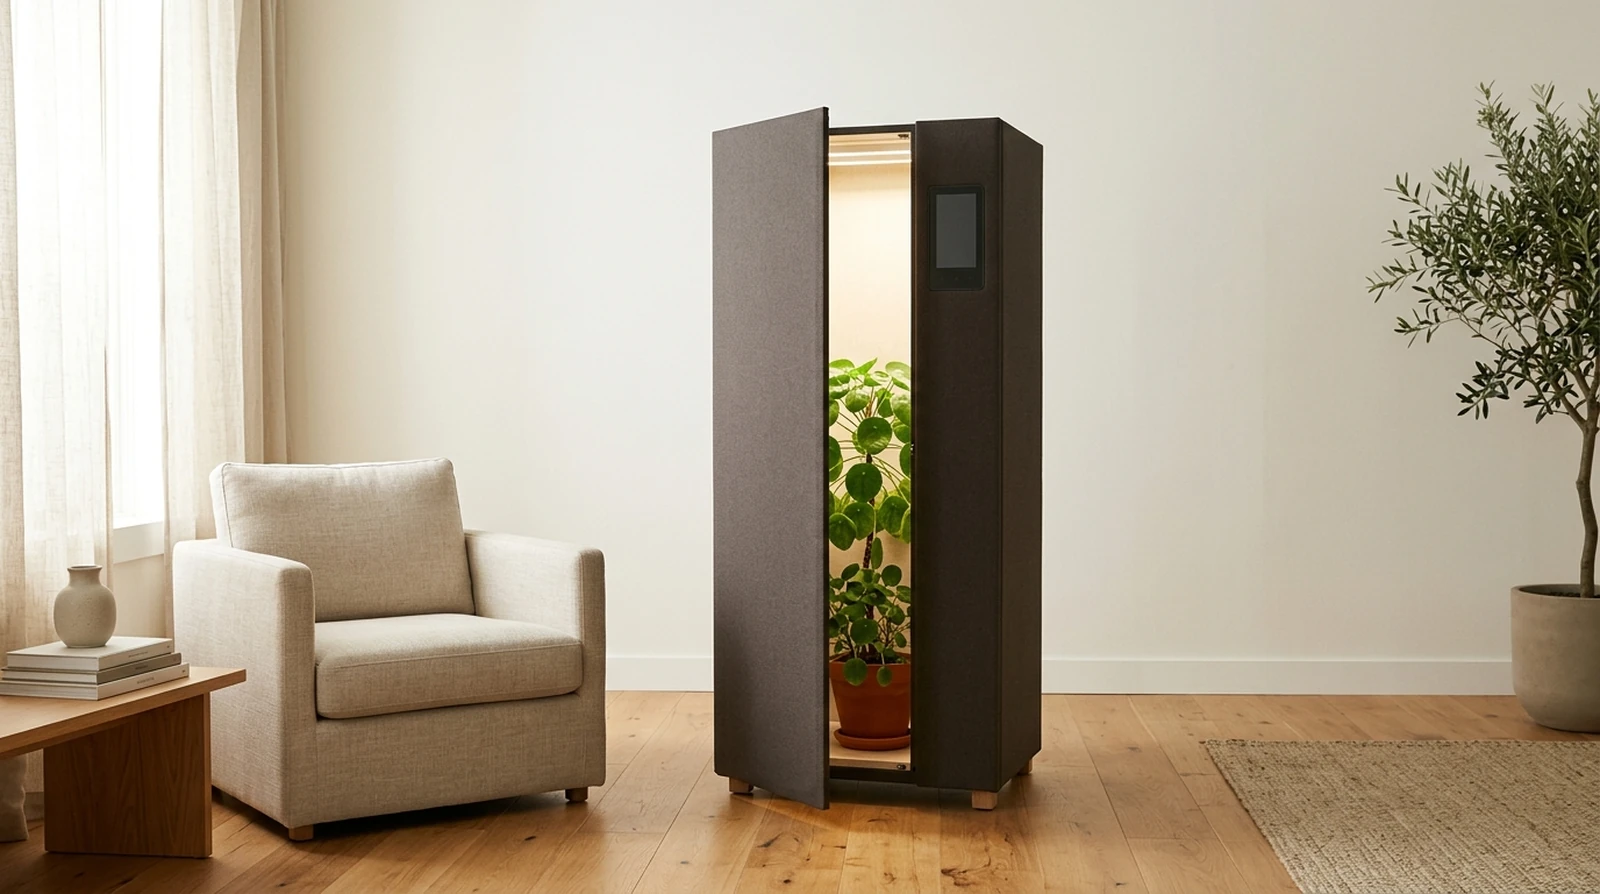
The flagship setup works because each piece solves a real part of the workflow.
The core recommendation is still the VGrow Smart Box paired with the matching 4-gallon DWC kit. That pairing gives beginners a contained cabinet, a hydroponic root zone with direct oxygen and nutrient access, and a much more obvious relationship between environmental drift and plant response.
The rest of the equipment should support that same logic. Measurement tools help the room stay readable. A loupe or macro lens helps the harvest stay honest. Jars and humidity tracking protect the finish. If a tool does not sharpen one of those decisions, it is probably extra. The most complete product-specific explanation of that setup now lives on the Vivosun VGrow DWC guide.
Stack at a glance
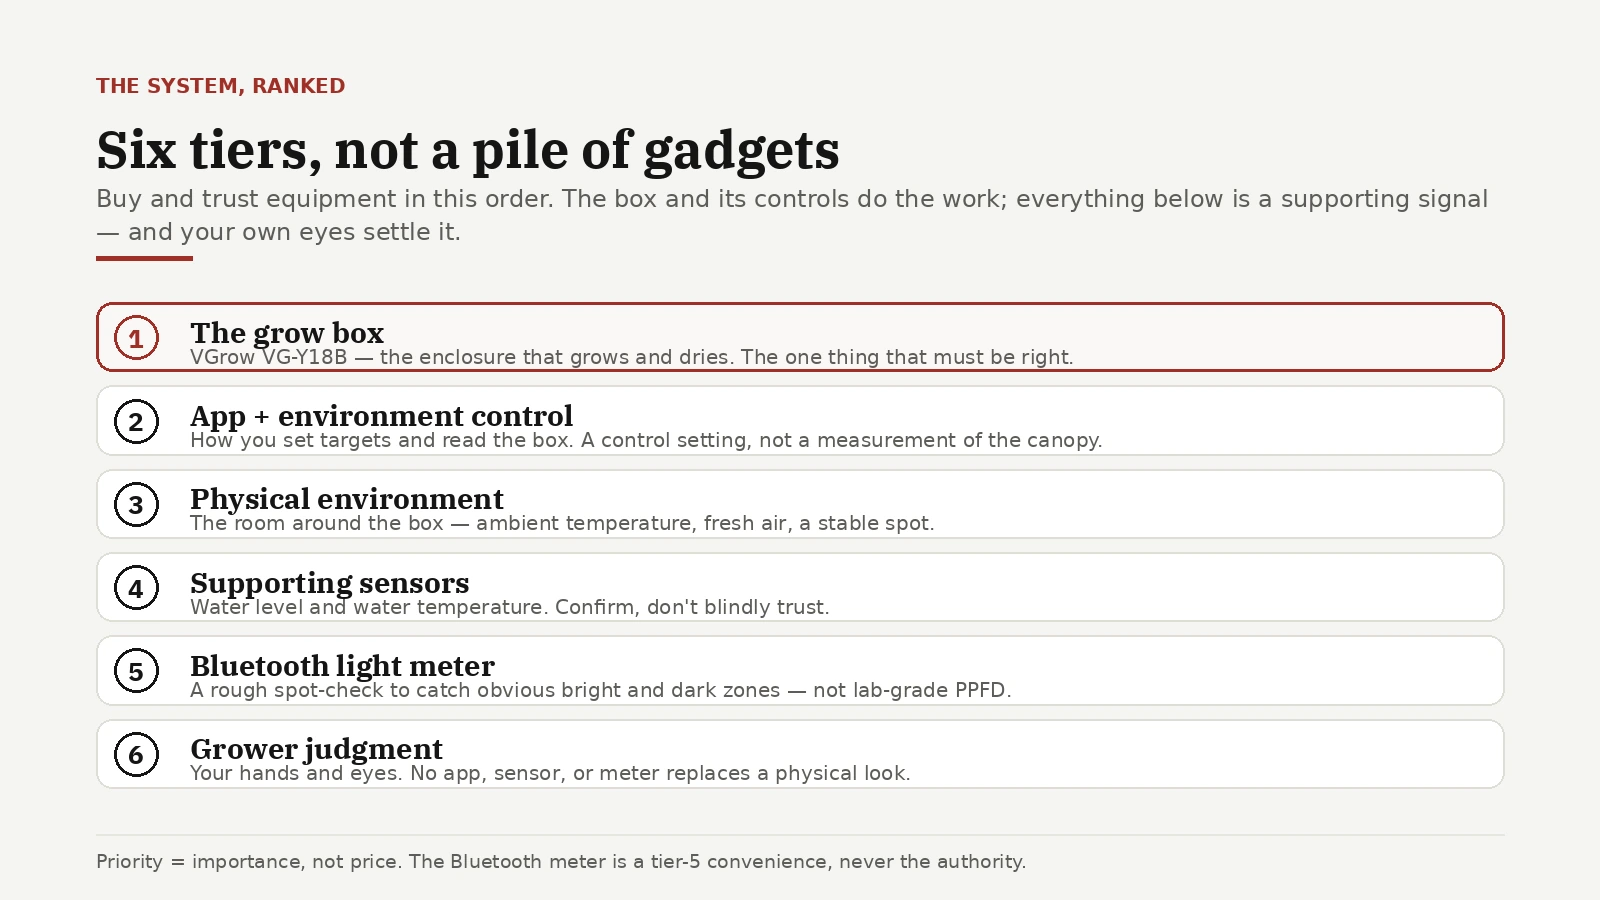
Think in three levels: what runs the room, what sharpens the read, and what can wait.
| Level | What belongs here | Why it matters |
|---|---|---|
| Must have | VGrow cabinet, DWC kit, pH meter, EC meter, jars, basic humidity readout | These tools let you build the environment, feed correctly, and finish the flower without guessing. |
| Helpful | Macro lens or loupe, extra hygrometer, drying accessories, replacement filters | These improve precision, especially around harvest timing and the final stages of the process. |
| Optional | Extra automation add-ons, stronger odor upgrades, specialty accessories | Nice to have once the core setup is stable, but not required to get a compact grow working well. |
Buying map
Buy now, buy later, or skip until the grow proves you need it.
| Decision | What belongs here | Why this is the right timing |
|---|---|---|
| Buy now | Cabinet, DWC kit, pH meter, EC meter, basic humidity read, jars | If these are missing, the room, the root zone, or the finish becomes guesswork immediately. |
| Buy later | Macro lens or loupe upgrade, extra hygrometers, replacement filters, drying helpers | These matter, but the first run can survive without the premium version if the baseline tools are already honest. |
| Skip for now | Duplicate automation accessories, redundant monitoring tools, upgrade kits that solve no known problem yet | The grow should ask for these. Buying them early usually means you are shopping for calm instead of building real clarity. |
1
Required to run
The cabinet, DWC reservoir, nutrient monitoring tools, and curing jars do the heavy lifting. If the setup does not include those, it is not really complete yet.
2
Helpful for beginners
A loupe or macro lens, backup humidity tracking, and simple drying support can save a lot of avoidable mistakes once buds start to mature.
3
Safe to skip at first
If a tool does not help you monitor the environment, read the plant, or finish the flower, it probably does not belong in a first-pass budget.
What each part does
The best equipment earns its place by solving a specific problem in the workflow.
Room
Cabinet and filters
The cabinet contains heat, airflow, and odor so the room stays more readable. Filters matter because smell control is part of environmental control, not a side quest. If the real pressure point is shared-space drift, continue to low odor cannabis grow setup for the room-level version of that logic.
Roots
DWC kit and meters
The reservoir and pH/EC tools tell you whether feeding and oxygenation are staying sane. Skip these and the root zone becomes guesswork fast.
Finish
Loupe, jars, hygrometers
Finish-stage tools matter because harvest and cure are still part of the system. If you buy them too late, the room starts paying for that delay.
DWC decisions
The gear questions that come up before a buying list is any use at all.
Most equipment decisions are really method decisions wearing a price tag. Whether the VGrow cabinet fits your room, whether DWC suits the way you actually work, and what the root-zone tradeoffs cost you later are all worth settling before you scan a checklist. These pages answer those directly.
VG
Flagship chamber workflow
The most product-specific path through the cabinet, the DWC kit, and the compact seed-to-jar method.
VGrow DWC guide101
DWC in plain language
Start with the short definition, then move into the beginner hydro primer before comparing methods or troubleshooting the reservoir.
What is DWC? DWC basicsFix
Root-zone failures and tradeoffs
When hydro stops feeling clean, these two pages handle the most useful next questions: what went wrong in the roots and whether soil would fit the room better.
Root rot and slime DWC vs soilSkip risk
What breaks when the wrong tool is missing.
- No pH or EC meter means the reservoir starts asking technical questions with no honest answer.
- No loupe or macro lens means harvest becomes emotional instead of visual.
- No jars or humidity read means the finish gets decided by hope instead of moisture behavior.
- No decent environmental read means the cabinet can drift before the plant has words for what changed.
Why this matters
The right tool lowers uncertainty. The wrong one decorates it.
That is the real buying rule underneath ColaXpress. Good gear reduces confusion at the exact point where a decision has to be made. Weak or mistimed gear does not make the run more premium. It just makes the uncertainty more expensive.
This is why the flagship setup stays disciplined. It is trying to make the room, the root zone, and the finish easier to read, not to turn a compact grow into a collector hobby.
Buy in this order
The cleanest first build starts with the room, then the root zone, then the reading tools.
Start with the cabinet and the core environment so the grow has an actual home before anything else gets invited in.
Add the DWC kit and the basic measurement tools that keep feeding and reservoir behavior readable.
Buy the loupe, jars, and humidity reads before harvest sneaks up, not the day the plant finally looks convincing.
Add extras later if the grow has shown you a real problem, not because the budget got nervous.
Buying advice
Beginner budgets get wasted when anxiety buys the next tool instead of the next useful step.
A lot of first grows get more expensive because the grower keeps reacting to uncertainty by buying more tools. The smarter move is to build a clear baseline setup first, run it, and add only what solves a real problem you have already seen.
That is also why the page order matters. Start with the full grow system, then use the setup checklist, then buy in sequence. Shopping gets cleaner when the workflow is already clear.
Bought too early
The usual mistake is adding gear before the grow has earned the upgrade.
- Extra gadgets that duplicate readings you already have.
- Fancy upgrades that do not change the actual environment or finish quality.
- Impulse accessories bought before you understand your own rhythm.
- Automation add-ons you are not ready to interpret correctly anyway.
Bought too late
The second mistake is waiting on the tools that protect the read and the finish.
- Waiting too long to buy loupe or macro support for harvest timing.
- Delaying jars and humidity reads until the plant is already ready to move.
- Trying to interpret root-zone behavior without dependable pH and EC tools.
- Assuming the cabinet can carry sloppy finish planning on its own.
Access
Financing matters because access changes whether a clean system can actually get built.
A disciplined setup is easier to run when it is actually reachable. That is why ColaXpress keeps financing visible as part of the equipment conversation. It is not there to hard-sell. It is there because delayed access changes how people build.
Terms and monthly options can change, so always verify live checkout or product-page details before treating a financing example like a promise. The workflow logic stays useful even when the payment terms move around.
Boundary
This page is workflow guidance, not a demand to buy every clever object in sight.
The flagship setup is the cleanest example to learn from, but the real lesson is broader: use equipment that makes the room more readable, the root zone more legible, and the finish easier to protect. If a product does not do one of those jobs, it probably does not deserve urgency.
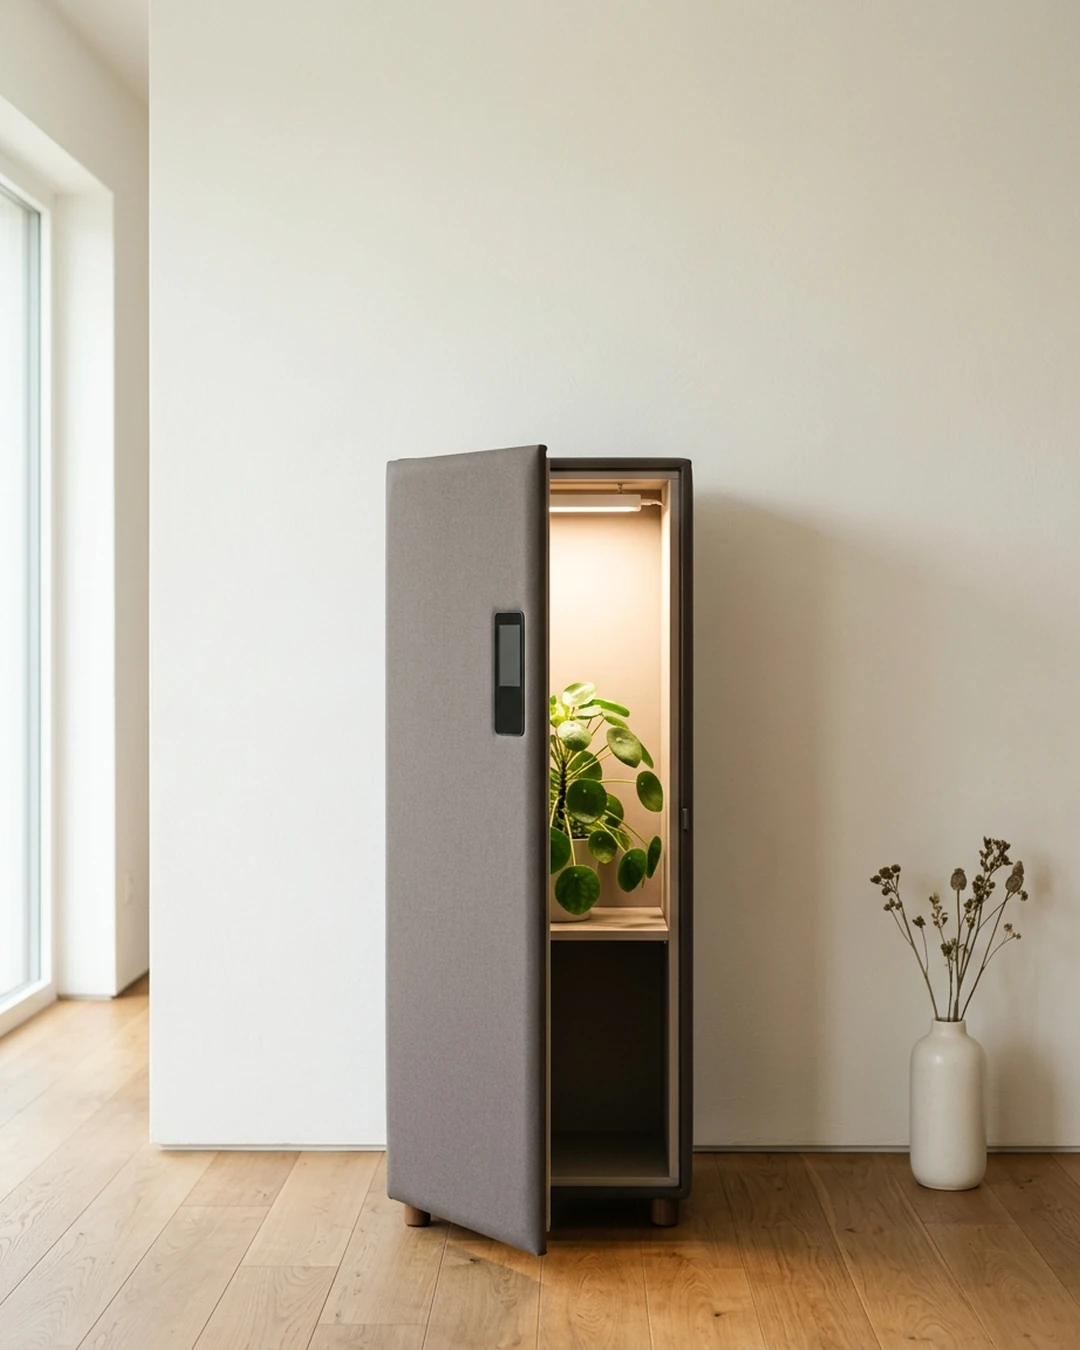
VIVOSUN product photography is used with permission under the VIVOSUN affiliate program.