Indoor Cannabis Grow Checklist for Small Spaces
Use this indoor cannabis grow checklist to build a compact, readable seed-to-jar workflow with fewer mistakes, healthier plants, and better flower at home.
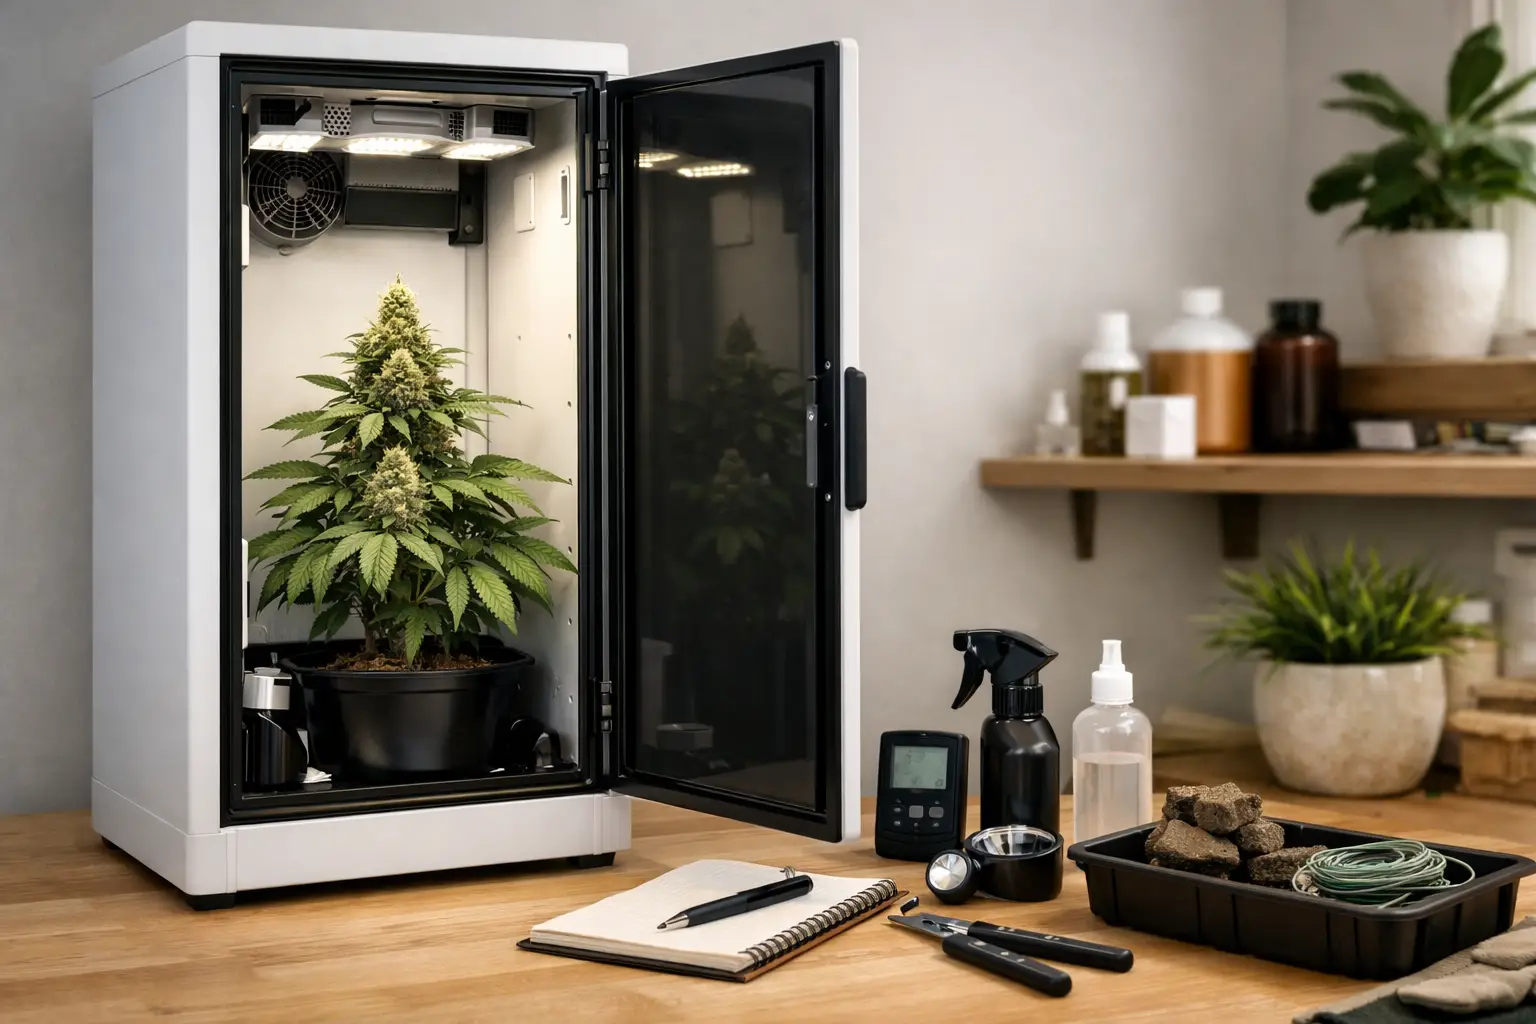
A compact grow does not fail because it lacks gadgets. It fails because the grower cannot read what is happening inside the enclosure. This indoor cannabis grow checklist gives you a workable sequence from setup to cured flower, built for people who want clean, repeatable runs instead of a crowded cabinet full of expensive guesses.
Use it before you germinate, then return to it at each transition. The goal is not to check boxes blindly. The goal is to make sure your space, method, and daily routine agree with one another.
Start With the Space, Not the Seed
Your enclosure sets the limits of the entire grow. A cabinet, small tent, or closet can produce excellent flower, but it cannot absorb the same mistakes as a roomy grow room. In a tight space, heat builds faster, humidity swings harder, and a plant that gets too large becomes a management problem instead of a prize.
Before buying seeds or nutrients, confirm that your grow area has enough vertical clearance for the plant, the container, the light fixture, and a safe gap between light and canopy. Measure the actual usable height, not the number printed on the cabinet box. Filters, hangers, ducting, and bucket lids all steal inches.
You also need a plan for air exchange. Fresh air and consistent circulation are not optional details. Exhaust removes heat and moisture, while a small circulation fan prevents damp, stagnant pockets around leaves and flowers. Do not aim a fan hard at one plant all day. You want leaf movement, not windburn.
For a first compact run, choose genetics that fit the space. Photoperiod plants run at 12/12 from seed can be a disciplined answer when height is limited, because flowering begins immediately and the schedule stays simple. That approach trades total plant size for control and speed. If your goal is a large, heavily trained plant, it is the wrong method. If your goal is a manageable cabinet plant with a clear finish line, it makes sense.
Indoor Cannabis Grow Checklist: Setup
Complete this section before the seed goes into water, media, or a starter plug.
- Confirm local rules and household boundaries. Grow only where it is legal and permitted, and keep the space secure from children, pets, and unwanted access.
- Test the enclosure empty. Run the light, exhaust, circulation fan, and any humidifier or dehumidifier for at least a day. Record temperature and relative humidity at canopy height, with lights on and off.
- Set the light safely. Install it according to the manufacturer’s clearance guidance, secure every hanging point, and use a timer you trust. A light that falls or a timer that drifts can ruin a run quickly.
- Organize electrical equipment. Keep power strips elevated, avoid overloaded circuits, make drip loops on cords, and keep water reservoirs away from plugs and connections.
- Choose one growing method. Soil, coco, and deep water culture can all work. Do not combine advice from all three and call it a system.
- Prepare measurement tools. At minimum, use a reliable thermometer-hygrometer. For DWC, you also need a calibrated pH meter and an EC or TDS meter.
- Build the water plan. Know your starting water quality, where you will mix nutrients, how you will dispose of runoff or reservoir water, and how you will respond if the reservoir temperature climbs.
- Plan drying space now. Flower quality is often lost after harvest, not during growth. You need a dark, clean, controllable place before the plant is ready to cut.
This empty-room test is where beginners save themselves weeks of drama. If the cabinet runs too hot before a plant is inside, adding a plant will not improve it. Fix the environment first.
Match the Root Zone to Your Routine
The root zone is where your method becomes real. Pick a system you can inspect and maintain on schedule, not the one that looks most advanced online.
Soil is forgiving in some ways because it buffers moisture and nutrition, but it can encourage beginners to water too often. Coco offers faster steering and frequent feeding, yet it asks for more regular irrigation and runoff management. DWC gives roots direct access to water and oxygen and makes plant response easy to observe, but the reservoir must stay clean, aerated, and within a reasonable temperature range. A neglected DWC bucket can change fast.
For a compact DWC grow, start with clean equipment, a lightproof reservoir, strong aeration, and a simple nutrient line used at a conservative strength. Check pH and EC consistently rather than making large corrections whenever you feel nervous. Watch the trend. Is water level falling? Is EC rising or dropping? Is pH drifting unusually fast? Those changes tell a story about uptake, evaporation, root health, and environmental stress.
Do not chase a perfect number every hour. Stability beats constant adjustment. A plant with a readable root zone is easier to grow than one receiving a fresh correction every day.
Daily plant-reading routine
Spend a few quiet minutes with the plant at the same time each day. Check leaf posture, new growth color, reservoir level or media moisture, temperature, humidity, and any signs of pests. Look under leaves, especially in dense growth. Early pest discovery is a small cleanup job. Late discovery can turn flowering into a salvage operation.
Keep notes. They do not need to be elaborate. Record what changed, when it changed, and what you did about it. Memory is unreliable once several variables move at once.
Keep Vegetative Work Proportional
In small spaces, training is not a hobby. It is a tool for maintaining light distance, airflow, and an even canopy. Use only the amount of training your plant and schedule can support.
With a 12/12-from-seed approach, aggressive topping, manifold builds, and long recovery periods usually work against the purpose of the method. Light leaf tucking, selective removal of weak lower growth, and simple branch guidance are often enough. The plant needs to establish roots and flower at the same time. Do not turn a compact flowering run into a training experiment.
If you veg longer, then training becomes more useful, but the trade-off is time and height. A longer vegetative period can fill a canopy, yet it also increases the chance that the plant outgrows the enclosure during stretch. Plan for the plant you will have three weeks into flower, not the plant you see today.
Flowering Checklist: Protect the Finish
Flowering is where growers often create problems by reacting too late. As buds gain density, humidity management and airflow move from helpful to critical. You are protecting flower, not chasing a last-minute yield bump.
Keep the light schedule consistent. Light leaks during the dark period can create unnecessary stress with photoperiod plants. Continue checking the canopy for crowded, damp areas, and remove only leaves or weak sites that genuinely block airflow or contribute little. Heavy defoliation is not automatically disciplined. Sometimes it is just plant stress with a confident label.
As harvest approaches, inspect trichomes with magnification and judge the whole plant, not one sugar leaf. Pistil color alone is a weak harvest signal. Trichome development, calyx swelling, plant maturity, and your preferred effect all matter. There is no universal harvest day that overrides what the plant is showing you.
Have clean shears, drying lines or racks, hygrometers, and storage jars ready before harvest day. If you are scrambling to find a place to dry after cutting the plant, you are already behind.
Dry Slowly, Cure Deliberately
Drying is part of cultivation, not a separate chore after the exciting part. Hang or rack flower in darkness with gentle air exchange and no direct fan blast. The target is a controlled, gradual dry, not crispy flowers in three days. Exact timing depends on flower density, trim style, temperature, and humidity, so use stem behavior and flower feel as signals rather than following a calendar alone.
When smaller stems begin to snap rather than bend and the outside of the buds feels dry without becoming brittle, move into jars or other appropriate airtight containers. Do not pack them tight. During early curing, check moisture frequently and release excess humidity when needed. If the flowers smell sharply of ammonia or feel wet inside, they need immediate attention. That is not a flavor note. It is a warning.
A disciplined cure rewards patience. Aroma becomes cleaner, smoke becomes smoother, and the work you did through the grow has a chance to show up in the jar.
The best first run is not the one that produces the biggest photo. It is the one you can explain from start to finish: what the environment did, what the roots did, what you changed, and why. Build that kind of run once, then improve it one controlled decision at a time.