Vivosun VGrow Setup Guide for First Runs
A practical vivosun vgrow setup guide for beginners - cabinet layout, climate, DWC basics, and first-run choices that reduce early mistakes.
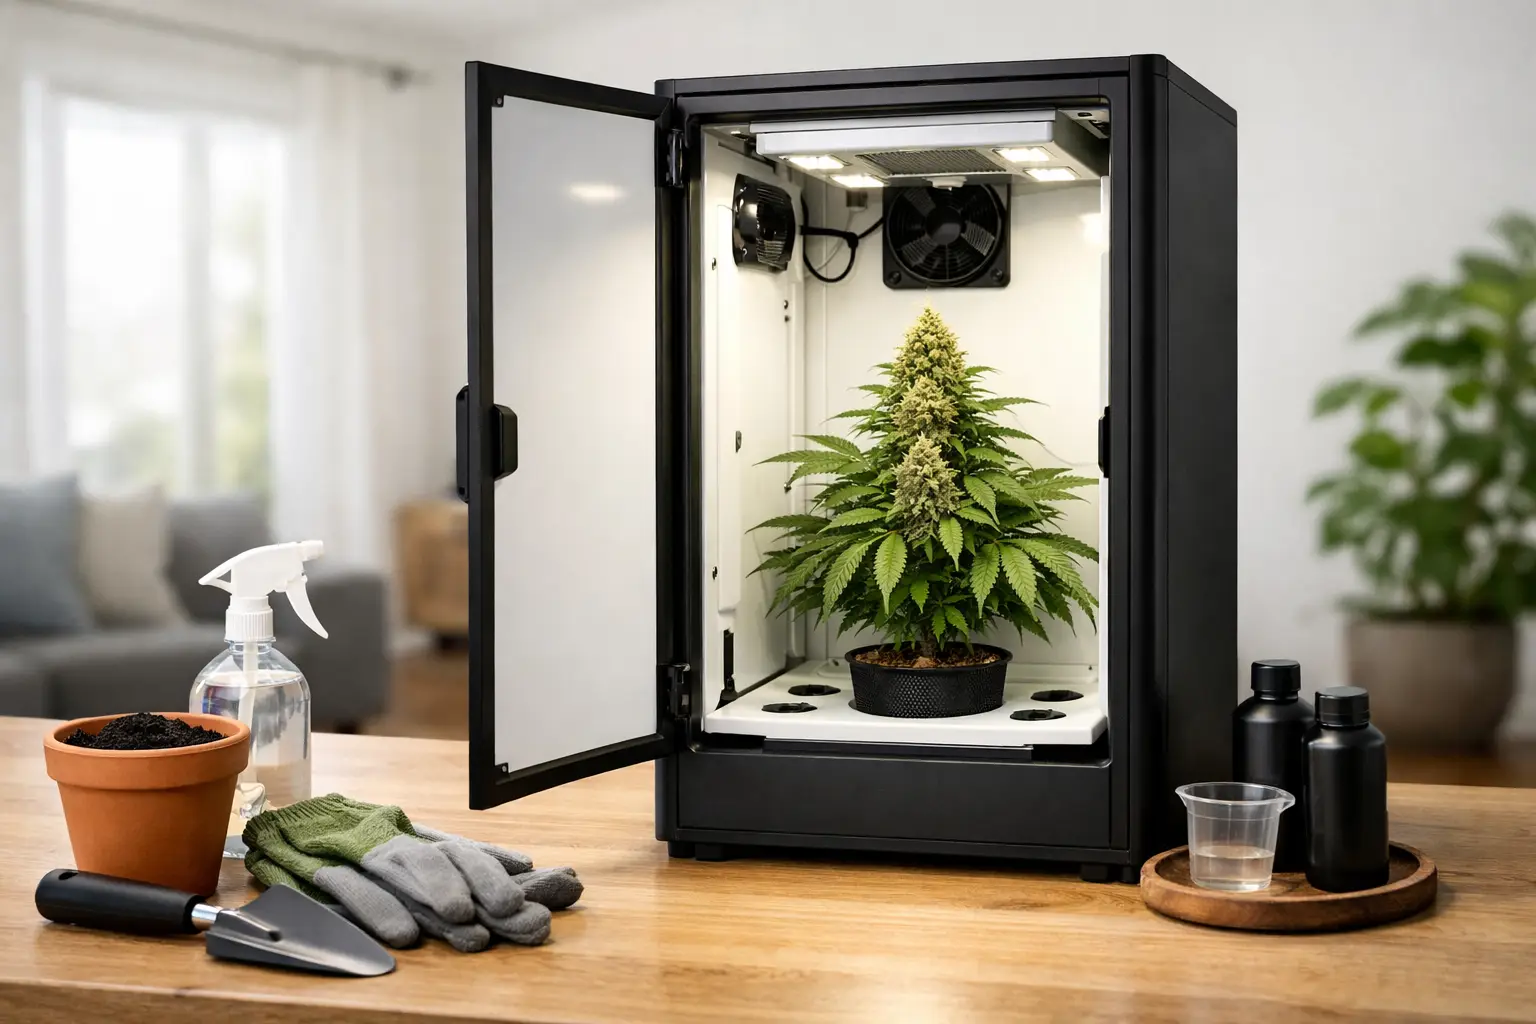
A bad first run usually starts before the seed ever cracks. The cabinet gets assembled in a rush, the reservoir plan is fuzzy, cords end up where water wants to go, and the grower is already reacting instead of running a clean system. This vivosun vgrow setup guide is built to stop that pattern. The goal is not to cram more gear into a small box. The goal is to build a readable environment that matches the space.
The VGrow can be a strong option for home growers who want a compact, contained setup. It gives you structure, and structure is useful. But a cabinet does not forgive sloppy decisions. In a small enclosure, every choice has consequences - airflow, root-zone temperature, plant size, dryback timing if you are in media, and headroom all matter more than they do in a roomy tent. That is why setup needs to be treated like part of cultivation, not a side task.
Start with method before hardware
The biggest mistake beginners make with cabinet growing is trying to keep too many options open. They buy the enclosure first, then start debating medium, plant count, training style, nutrients, and light intensity after the fact. That is backward. Your method should decide your setup.
In a VGrow, simple usually wins. If your goal is a disciplined first run, pick one plant, one method, and one clear workflow. For many growers, that means deep water culture or another straightforward hydro approach only if they are willing to monitor the root zone closely. If they are not, a simpler hand-watered medium may be easier to manage. There is no universal best choice here. DWC grows fast and fits the cabinet logic well, but it also punishes neglect faster than beginners expect.
That trade-off matters. Fast growth sounds great until your plant outpaces your vertical space and your environment gets crowded. Small-space growing is not about chasing maximum biomass. It is about keeping the canopy, root zone, and air exchange in balance.
Vivosun VGrow setup guide: build the cabinet like a system
When you assemble the cabinet, think in zones. You have the upper zone for light and canopy, the middle zone where plant structure and airflow matter most, and the lower zone where water, drainage, and electrical safety live. If those zones blur together, problems stack up quickly.
Put the cabinet together carefully and square. If the frame or door alignment is off, you can end up with light leaks, a poor seal, or unnecessary vibration. None of those issues are dramatic on day one. They become annoying because they keep showing up. A clean assembly saves troubleshooting later.
Before you place anything permanent inside, map your cable routes. Keep power strips, adapters, and controller connections away from any place that could drip, splash, or sweat. In compact hydro setups, water rarely stays exactly where you imagined it would. Condensation, reservoir changes, and routine maintenance all create chances for mess. Give water and electricity separate lanes from the start.
Then set your plant position. In a cabinet, plant placement is not trivial. You want the container centered under the light footprint, but you also need enough room to inspect the back of the plant and enough access to remove or top off the reservoir without turning a simple task into a wrestling match. If maintenance is awkward, consistency drops.
Get airflow right early
Airflow is not there just to strengthen stems. In a cabinet, airflow is part of temperature control, humidity management, and disease prevention. Poor circulation creates stale pockets around leaves and wet zones around the root area. That is how a small enclosure starts feeling bigger than your control.
Your exhaust should move air predictably, not violently. More fan speed is not always better. If the cabinet dries too aggressively, your plant drinks harder, nutrient concentration shifts faster, and environmental readings can become jumpy. You want steady exchange and gentle internal movement across and under the canopy.
One common beginner error is aiming too much direct air at the plant. That can make leaves look stressed in ways people misread as nutrient issues. Keep the air moving, but do not blast the canopy like you are trying to flatten it.
Dial in climate for the cabinet you actually have
A small enclosure does not give you much buffering. That means room conditions matter more than people think. If the room outside the cabinet swings hot in the afternoon or cold at night, the cabinet will follow.
So before you obsess over nutrient charts, get realistic about the room. Is it stable? Does it stay within a reasonable temperature range across the full day? Is humidity manageable during lights on and lights off? If the surrounding room is unstable, the cabinet becomes a smaller version of the same problem.
For a first run, aim for boring consistency. Mild leaf surface temperatures, steady air exchange, and humidity that does not trap you in a mold-prone finish are better than trying to run some perfect number you saw online. This is where a disciplined grower separates from a gear collector. Read the plant, but also read the room.
Light intensity matters more than light ownership
The cabinet light is only useful if it matches the plant stage and your available headroom. New growers often assume more intensity means more success. In a compact cabinet, that mindset creates short internodes, stress, or an overcrowded top zone before the roots and environment are ready to support it.
Start conservative. Let the seedling or young plant establish without forcing it. As the plant grows, increase intensity in step with health, root development, and canopy management. If your leaves are praying lightly and growth is compact but not stalled, you are probably in a workable range. If the top is getting too aggressive for the available space, the answer may not be more training. It may be that your method, timing, or light level is pushing the cabinet too hard.
DWC basics inside a VGrow
If your version of a vivosun vgrow setup guide needs to support DWC, treat the reservoir like the heart of the cabinet. In hydro, you are not just growing a plant. You are managing water chemistry, oxygenation, and root-zone stability in a confined environment.
Keep the reservoir accessible. If checking water level or changing solution feels like a chore, you will avoid it, and that always shows up in plant performance. Make sure your airline routing is secure, your air pump placement is sensible, and the bucket or reservoir lid closes cleanly around the plant site.
Temperature matters here. Warm nutrient solution can turn a healthy root zone into a problem fast. In a compact cabinet, heat from the light, the room, and the equipment can all stack. That does not mean DWC is a bad fit. It means you need to respect the margin for error.
Also, do not confuse a full reservoir with a healthy one. Watch root color, smell, growth rate, and plant posture. Hydro rewards attention, not paranoia. Check often enough to stay ahead, but do not keep changing the plan every time a leaf twists.
Set up and run the DWC reservoir
A few concrete choices make the reservoir easier to keep stable. Use a lightproof container that fits securely in the cabinet with enough clearance to open the lid and check the water level. A 3- to 5-gallon reservoir is a workable size, but smaller volumes swing faster - if the room runs warm or you cannot check daily, more solution buys you more stability at the cost of weight, so decide placement before you fill it. Keep the air pump outside the cabinet if you can, because pumps add heat and the nutrient solution is the one zone you do not want warmed. Confirm strong, steady bubbling before the plant ever goes in, and treat that pump as core infrastructure rather than an accessory - if it quits, roots can lose oxygen quickly.
Mix for stability, not hero numbers. Start with clean water and add nutrients in the manufacturer's recommended order; never combine concentrated bottles before they are diluted. Begin lighter than the most aggressive line on the feeding chart, because DWC makes nutrients immediately available and a young plant needs a healthy root system before it can use heavy feeding. Measure EC or ppm, then adjust pH into a practical working range of about 5.6 to 6.1, and let the solution settle instead of chasing every small movement with more drops. Keep solution temperature in the mid-60s Fahrenheit where you can - warmer water holds less dissolved oxygen and invites root trouble. For the first couple of weeks, check daily and note water level, pH, strength, temperature, and how the plant looks, so later you can tell whether a change started at the roots, in the climate, or in your own adjustments.
Transplant cleanly, then settle into a weekly rhythm
Start the seed in a small starter plug rather than dropping it straight into a net pot packed with wet media. Once the taproot is established and the seedling stands up, set the plug into the net pot and support it with rinsed clay pebbles without burying the stem. Early on, keep the water level high enough that splash and bubbles keep the base of the plug lightly moist; once roots reach into the reservoir, lower the level slightly so the emerging roots get oxygen as well as water. Your early target is simple - white or cream-colored roots, steady new growth, and a reservoir that smells neutral. Brown, slimy roots or a sour smell mean you should check water temperature, air-stone output, light leaks, and nutrient strength before reaching for bottled "fixes."
After that, most drama comes from neglecting a simple rhythm. Top off with appropriately adjusted water as the plant drinks, and read the trend across several checks rather than reacting to one: if the water level drops while EC rises, the plant is taking more water than nutrients and the mix may be too strong; if EC falls quickly, it may be feeding hard or the solution may be too light. Replace the reservoir on a regular schedule - commonly every seven to ten days for a small cabinet - and use each change to clean the reservoir, lid, and air stone and to inspect the equipment. DWC rewards a clean workflow because the roots have nowhere to hide from a missed step.
Keep the plant strategy small and deliberate
The cabinet will tempt you to overgrow it. That usually starts with vegging too long, trying to recover every minor issue before flower, or copying training approaches built for larger spaces. For a first run, keep the plant count low and the structure simple.
A compact plant with a controlled canopy is easier to light, easier to inspect, and easier to finish well. That matters because the finish stage is where a lot of home growers lose quality. Dense flowers in a crowded cabinet can raise humidity risk late in the run. A cleaner structure gives you better airflow and fewer surprises.
This is one reason many small-space growers prefer a quicker path to flower rather than stretching the plant into a management problem. Bigger is not always better, especially when your dry and cure discipline matters more than squeezing one more ounce out of the box.
Cultivar choice is part of that discipline. Stretchy, slow-finishing genetics can turn a clean cabinet run into a constant fight for headroom, while shorter, structurally stable plants are easier to read and easier to finish. It is also why many cabinet growers lean on a short vegetative period or run 12/12 from seed: starting the plant on a flowering schedule keeps its final size aligned with the cabinet's height and reduces the need for aggressive training. That is not the right call for every grower or every cultivar, but it is one of the cleanest ways to keep plant architecture proportional to a small enclosure.
Build maintenance into the setup
A cabinet setup is only good if it supports repeatable habits. Can you refill water without moving the whole plant? Can you inspect runoff or reservoir condition without kneeling into a mess? Can you wipe surfaces, check fans, and clean intake areas without taking half the cabinet apart?
These details sound boring. They are also the difference between a setup that stays clean and one that slowly turns into avoidable drama. Small-space growing rewards maintenance discipline because there is nowhere for problems to hide. ColaXpress has always leaned toward clarity over chaos for exactly this reason.
Set up your cabinet so the daily checks are short and obvious. Look at canopy posture, temperature and humidity trends, water level if you are in hydro, and general cleanliness. If anything feels hard to inspect, fix the workflow now, not after the plant gets large.
Finish with the end in mind
Your VGrow setup should support harvest, not just growth. Think ahead to how the plant will come out, where trimming happens, and where drying will occur. The cabinet is not automatically the best drying environment unless you can control it carefully after chop. Many growers do a decent job through flower and then rush the final ten days into a quality loss.
So while you set up the cabinet, think past the cabinet. A good first run is not defined by how crowded the plant gets or how exciting the growth looks in week four. It is defined by whether the whole process stays readable from seed to jar.
If you build the VGrow like a controlled workspace instead of a gadget showcase, you give yourself something better than a flashy start. You give yourself a setup you can trust when the plant starts asking real questions.