Weed Drying Humidity Chart That Actually Works
Use this weed drying humidity chart to hold better terpenes, avoid hay smell, and finish your dry with cleaner, more consistent flower.
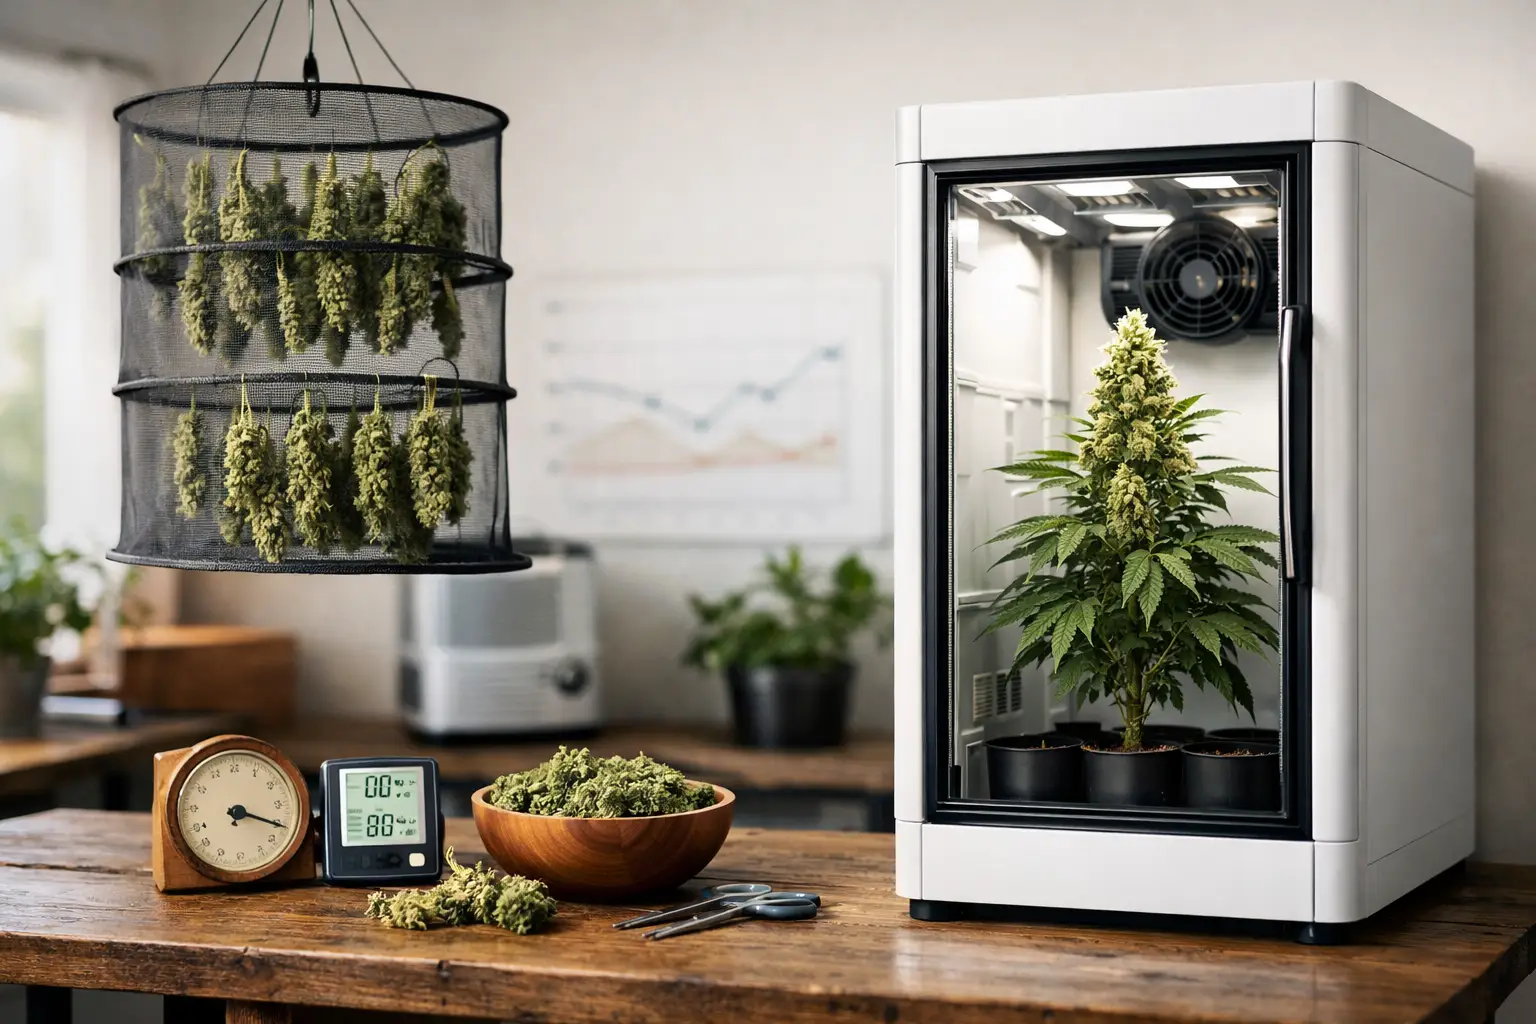
If your flower smells great at chop and flatlines into hay four days later, your dry room is the problem. A weed drying humidity chart helps, but only if you use it as a control tool instead of a magic number. Drying is not about chasing one perfect reading. It is about keeping moisture loss slow, even, and readable so the outside of the buds does not crisp up while the center stays wet.
For small-space growers, that matters even more. Cabinets, compact tents, and spare closets swing fast. A cheap dehumidifier can overshoot. An exhaust fan can strip moisture too quickly. One hot corner can turn a clean harvest into a harsh smoke. Post-harvest quality is not won by gear hype. It is won by discipline.
Weed drying humidity chart
Here is the working chart most home growers actually need:
| Drying stage | Relative humidity | Temperature | What you want to see | |---|---:|---:|---| | First 24 hours | 60-65% RH | 60-68 F | Surface moisture starts leaving without crisping the buds | | Days 2-4 | 58-62% RH | 60-68 F | Slow, steady dry, aroma still present, no papery exterior | | Days 5-7+ | 55-60% RH | 60-67 F | Small stems begin to stiffen, buds feel dry outside but not brittle | | If drying too fast | Raise to 62-65% RH | Keep under 68 F | Slow moisture loss before terpenes flatten out | | If drying too slow | Lower to 55-58% RH | Keep air moving lightly | Reduce mold risk without blasting the flower |
This chart is not a rigid script. It is a range system. If your buds are small and airy, they may finish faster at the same humidity. If you grew dense colas in a humid room, you may need more caution and a little more time. The point is control, not superstition.
Why the chart matters more than the old 60/60 slogan
Growers love simple rules, and 60% RH at 60 F became the famous one. It is useful, but beginners often treat it like a religion. That is how people make bad calls. If your room sits at 60% RH but spikes to 69% every lights-on cycle in the next room, you do not have control. If it stays at 60% RH but runs 71 F, the dry can still move too quickly. If airflow is hitting hanging branches directly, the meter reading will not save you.
The better way to use a weed drying humidity chart is to think in bands. Around 60% RH with cool temperatures is your target zone. Slightly above that can help in the first day if your room tends to strip moisture fast. Slightly below that can help if buds are unusually dense or the room feels stagnant. You are steering a process, not worshiping a number.
What proper drying looks like in a compact grow space
In a cabinet or small tent, the biggest enemy is unevenness. The top shelf dries faster than the bottom. The branch near the exhaust dries faster than the branch in the corner. The room meter says one thing while the microclimate around the flower says another.
That is why drying should be built around gentle consistency. Keep air moving, but never blowing directly on the buds. Keep the room dark. Keep temperatures cool enough that aroma stays in the flower instead of flashing off into the filter. If you are growing in a VGrow, compact tent, or another small enclosure, use the whole space with intention. Spread branches so they are not packed together, and check more than one hygrometer location if possible.
A clean dry usually feels boring. That is a good sign. No dramatic smell swing. No crunchy outsides by day three. No panic adjustments every six hours.
Reading the flower against the humidity chart
The chart gives you the environment. The flower tells you whether that environment is working.
On day one, fresh-cut buds should feel obviously wet on the outside, but not dripping or sweaty. By days two through four, the outer surface should start feeling less slick while the bud still has some give when lightly squeezed. By days five through seven, the outside should feel dry, but not crisp. Small stems may begin to snap or at least give a sharp crackle, while larger branches still bend.
If the bud exterior turns papery early, the dry is moving too fast even if your meter looks decent. If the flower still feels swampy deep into the week, the room is too wet, too warm, too stagnant, or the plant was hung too heavily. Use the chart as your adjustment map. Raise RH slightly when things are racing. Lower it modestly when things are dragging. Do not make giant swings unless you like avoidable drama.
Common mistakes when using a weed drying humidity chart
The first mistake is using one hygrometer and trusting it blindly. Cheap meters drift. Small spaces have pockets. If possible, compare two meters and place them near the drying zone, not across the room.
The second mistake is over-correcting. Growers see 57% RH and slam the humidifier until the room jumps to 67%. Then they chase it back down with exhaust. That kind of seesaw creates a messy dry. Tight control beats aggressive correction.
The third mistake is confusing airflow with ventilation. You need gentle air exchange and mild circulation, not a fan pointed at hanging branches. Direct airflow dries the outside too fast and leaves moisture trapped deeper in the bud.
The fourth mistake is trimming too hard before the dry. Wet trimming can speed the process because you remove the plant material that would have slowed moisture loss. That is not always wrong, but in compact spaces that already dry fast, it often pushes things in the wrong direction. A partial trim or whole-plant hang usually gives you more buffer.
How to adjust if your dry is moving too fast
If buds are drying faster than the chart suggests, fix the room before the flower gets stripped. Bring RH up into the low 60s. Check whether your exhaust is pulling too hard. Reduce direct circulation. Make sure temperatures are not creeping toward 70 F and above.
You can also leave more plant material on during harvest next time. Larger branches and more leaf left on the plant slow the dry. That is especially useful in small indoor environments where conditions swing quickly.
Fast drying usually costs you aroma first. The smoke may still be usable, but the flower loses depth and can finish harsher than it should. That is not a genetics problem. That is process.
How to adjust if your dry is moving too slow
If your flower still feels too wet after a week and the room smells heavy or stale, do not just wait and hope. Bring RH down a few points, improve air exchange, and make sure flowers are not crowded together. Dense buds in a damp room are a mold risk, especially when growers mistake slow drying for careful drying.
This is where trade-offs matter. Slower is generally better than faster, but only up to a point. A long, damp dry in stale air is not craft. It is negligence dressed up as patience.
When the chart ends and curing begins
The weed drying humidity chart gets you to the handoff point. It does not cure the flower for you. Once the buds feel dry outside and the smaller stems give that light snap or crackle, move into containers and monitor internal moisture. If the buds rehydrate the jar air too aggressively, they needed more drying time. If they feel dead and brittle from the start, the dry went too far.
This handoff is where a lot of growers get fooled. The outside can seem ready while the center still holds plenty of moisture. That is normal. A disciplined cure smooths that gradient out over time. But if the dry room was sloppy, the cure will not perform miracles. Curing refines. It does not rescue a bad finish.
For beginners, this is the real lesson. Harvest is not the finish line. Drying is not an afterthought. It is part of the grow system, especially in small spaces where conditions change fast and mistakes show up hard.
A good chart gives you guardrails. A good grower pays attention to the plant inside those guardrails. Keep the room steady, keep your adjustments small, and let the flower tell you whether your environment is doing its job. That is how you get from chop to jar without wasting months of work in the final week.