How to Stabilize Cannabis Drying Conditions
Learn how to stabilize cannabis drying conditions in small spaces, prevent mold and overdrying, and protect aroma, texture, and cure quality at home.
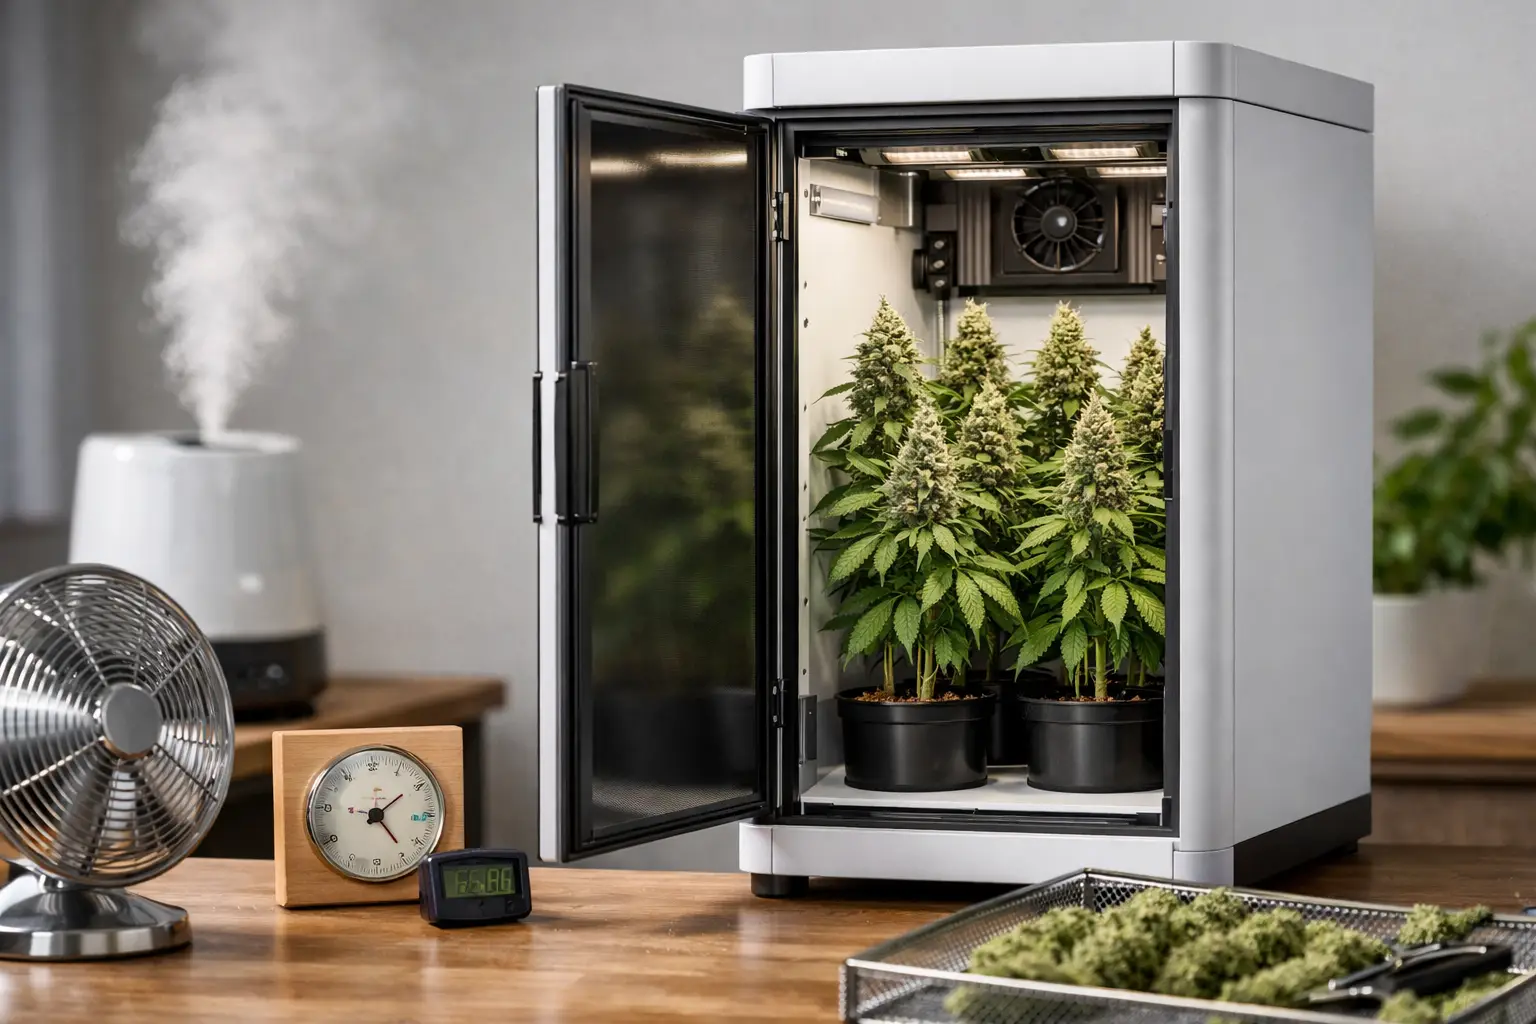
A good harvest can lose its character in 48 hours of bad drying. The work is not finished when you cut the plant. To stabilize cannabis drying conditions, you need a small, readable environment that changes slowly, not a pile of buds in a room that swings from damp to crispy every day.
For compact growers, drying is where improvised setups create avoidable drama. A warm cabinet, a spare closet with a blasting fan, or a cardboard box checked twice a day can all work against the flower. The goal is simple: remove moisture gradually and evenly while keeping the crop dark, clean, and protected from stagnant air.
What stable drying actually looks like
Most home growers should start near 60°F and 60% relative humidity. That is a useful target, not a magic number. The real standard is steady conditions that let whole branches dry over roughly 7 to 14 days, depending on flower density, plant size, trim style, and how much material occupies the space.
A dry that finishes in three or four days is usually moving too fast. The outside dries before moisture from the center of the flower can migrate outward. The buds may feel dry enough to jar, but they often smoke harshly, lose aroma quickly, and develop that hollow, brittle texture nobody wants.
At the other extreme, high humidity with weak air exchange can keep flowers wet for too long. Dense colas are especially unforgiving. Mold does not need a dramatic failure. It needs a moist pocket, still air, and enough time.
Stable drying means four things are working together: moderate temperature, controlled humidity, gentle air exchange, and darkness. Treat them as one system. Fixing humidity while overheating the room is not control. Adding a fan to compensate for wet air is not control either.
Build the drying space before harvest day
Do not cut down a plant and then start searching for somewhere to hang it. Drying conditions are easiest to manage when the space is empty, clean, and tested before harvest.
For a small grower, a closet, tent, cabinet, or dedicated drying box can work. The best choice is usually the one you can keep coolest and most stable without turning the grow area into a second project. A flowering cabinet often runs too warm to serve as a drying room unless the lights are off and the climate is independently controlled. Grow spaces are built to push plant growth. Dry spaces are built to slow down moisture loss.
Place at least two calibrated hygrometers in the drying area. Put one around flower level and another near the opposite side or lower portion of the space. One meter tells you a number. Two meters tell you whether the space is actually even.
Run the empty space for a full day if possible. Watch how it behaves when your home's HVAC cycles, when outdoor weather changes, and overnight. If humidity climbs sharply after the door stays closed for a few hours, you have learned something useful before the crop is hanging inside.
Clean the space thoroughly. Remove old plant debris, dust, and anything with a mildew smell. Drying flower in a dirty enclosure is not craft. It is gambling with the most valuable part of the run.
Control humidity first, then temperature
Humidity is usually the main problem in a compact drying setup. Fresh plants release a surprising amount of water, particularly during the first two days. A space that reads 58% relative humidity while empty can jump well above target after you hang a full plant.
If humidity rises above the low-to-mid 60s and stays there, increase air exchange carefully or use a dehumidifier outside the drying space to condition the surrounding room. Conditioning the larger room is often better than placing a dehumidifier directly inside a tiny enclosure, where it can pull moisture too aggressively and create large swings.
If humidity falls below the mid-50s, first reduce excessive exhaust or stop direct airflow. A small humidifier in the surrounding room can help, but do not aim mist at the drying space or at the flowers. The point is to raise the room's baseline gently, not add wet air in bursts.
Temperature matters because heat accelerates drying and pushes off volatile aroma compounds. Keep the space as close to 60°F as your home allows, but do not create wild humidity swings chasing a perfect temperature. A steady 64°F with controlled humidity is generally better than a space that bounces between 58°F and 70°F every day.
This is where disciplined growers stop chasing a single internet number. Read the environment over time. A stable, slightly imperfect dry beats a perfect-looking number that changes every few hours.
Keep air moving around, not through, the flowers
Flowers need fresh air, but they do not need wind. Pointing a fan directly at hanging branches dries exposed surfaces too quickly and leaves the interior moisture uneven. It also turns one side of the crop into a different drying environment than the other.
Use a small fan to circulate air indirectly, aimed at a wall, floor, or open section of the enclosure. If the space is sealed enough to smell strongly when opened, add a modest exhaust path or periodically exchange air. The air should feel fresh, not windy.
For a tent or cabinet, low-speed exhaust paired with passive intake can be enough. The trade-off is that constant exhaust may dry the space too quickly in an already arid home. In that situation, cycle the exhaust rather than running it hard around the clock. The correct setting is the one that holds the environment steady, not the one that makes the most airflow.
Match the harvest load to the space
Overloading a small drying area is one of the fastest ways to lose control. Branches packed tightly together create humid zones where your hygrometer may not be reading. Leave room between hanging branches so air can move around them. Do not let large colas press against a wall or each other.
How you harvest changes the load. Hanging whole plants or large branches slows the dry and can be helpful in a dry climate. It also takes more room and releases more moisture at once. Breaking plants into smaller branches gives you more control in a tight space, but it can speed the process in low humidity.
Wet trimming also speeds moisture loss because it removes protective leaf material. Dry trimming gives the flower a slower path and usually makes sense when the environment is on the dry side. Neither method is automatically superior. Match the method to your available drying conditions rather than forcing a style that fights the room.
Inspect dense flowers daily, especially early in the dry. Check for soft, damp interiors, unusual gray or white growth, or a sour smell. If you find suspected mold, isolate the affected material immediately. Do not jar it, do not bury it in a larger batch, and do not assume curing will solve the problem.
Make small corrections, not dramatic ones
The fastest way to destabilize cannabis drying conditions is to react emotionally to every reading. A meter shows 64% humidity, so the grower adds more exhaust. Two hours later it falls to 49%, so they add a humidifier. By nightfall, the flowers have been through three different climates.
Use a slower correction cycle. Check conditions at consistent times, note the temperature and humidity, and look at the direction of change. If humidity is drifting upward over several checks, make one modest adjustment. Then give the space time to respond.
Keep a simple drying log for the first week. Record the room reading, the drying-space reading, whether exhaust is running, and what the flowers feel like. This is not paperwork for its own sake. It turns a vague post-harvest problem into a readable process you can improve next run.
The flower itself is part of the data. Stems snapping on the outside does not automatically mean the interior is ready. Small stems may snap while larger branches still bend, and that can be normal. When buds feel dry on the surface but still have a slight spring instead of crumbling, move a small test sample into a jar with a reliable humidity meter. Let it sit sealed for several hours, then read the internal moisture behavior before committing the full crop.
Transition into cure without rushing it
When the dry is close, separate flowers from branches and place them in clean curing containers without packing them tight. The first days in jars are still a moisture-balancing stage. If the internal humidity rises too high, take the flowers back out briefly and let them air in the controlled drying space before rechecking.
Do not use curing containers to rescue flower that was dried too fast or to hide flower that is still wet. Jars are for controlled finishing, not emergency repair. A patient dry makes curing straightforward. A chaotic dry creates problems that follow the crop for weeks.
The finish stage rewards restraint. Build a stable space, measure more than one point, keep airflow gentle, and adjust in small moves. That is how a compact grow stays clean from seed to jar: clarity, not chaos.