Cannabis Drying and Curing Guide
A cannabis drying and curing guide for indoor growers who want smooth smoke, better aroma, and fewer finish-stage mistakes in small spaces.
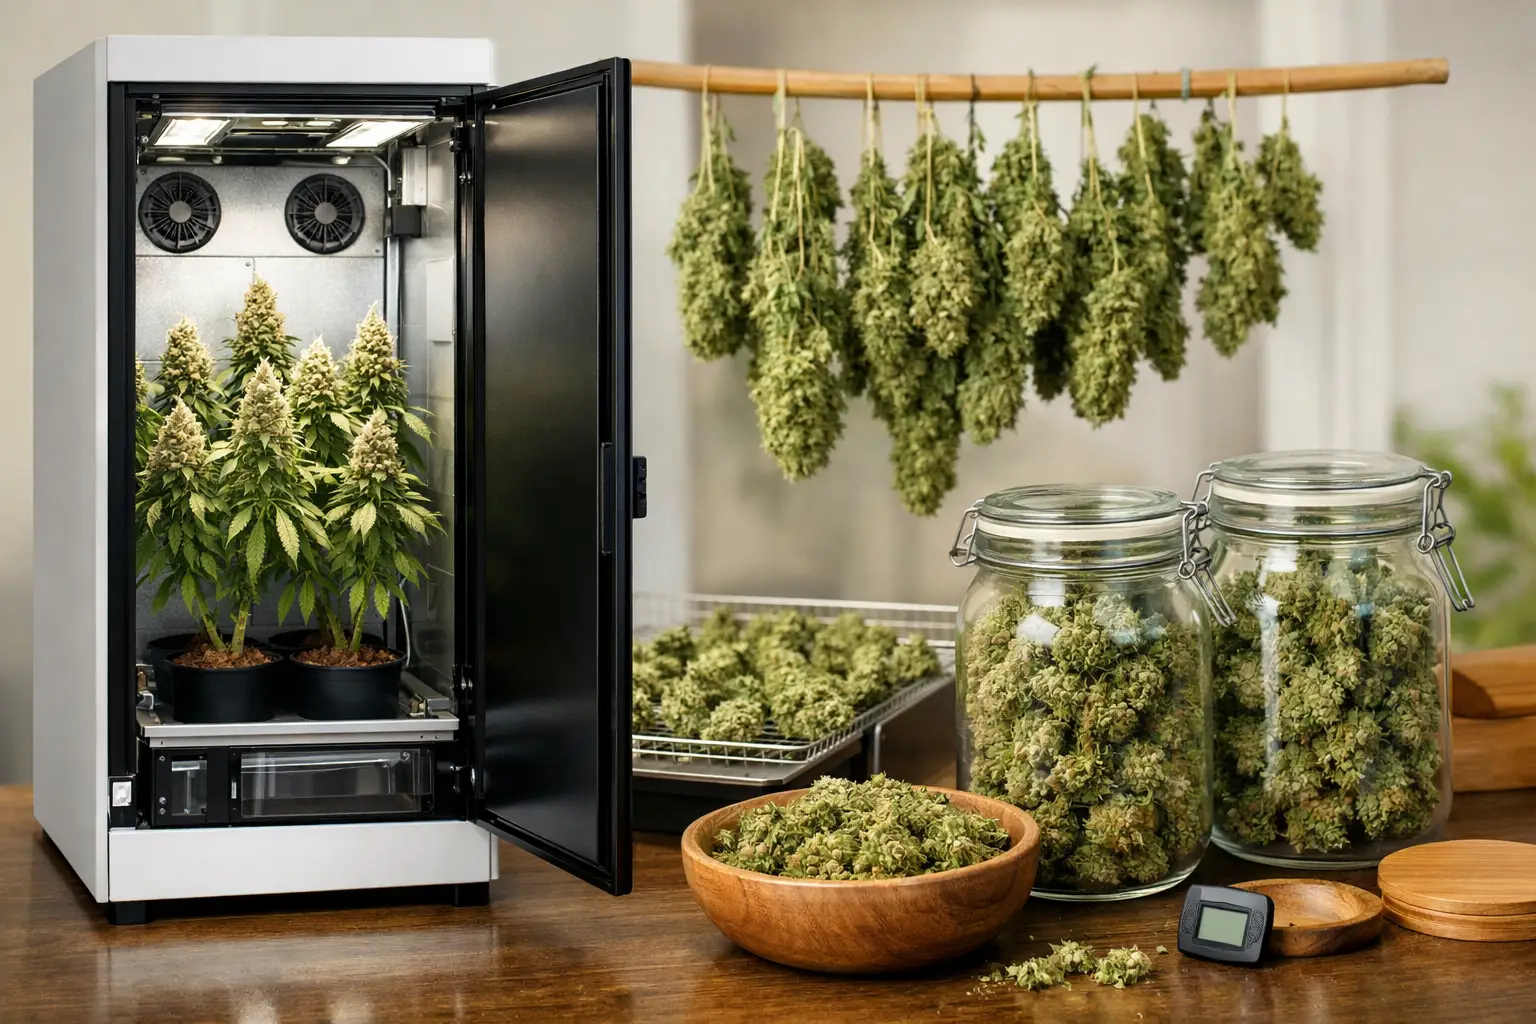
The easiest way to ruin a solid harvest is to get lazy after chop day. Growers will spend weeks managing canopy, feed, and environment, then hang the plant in a bad room, jar it too early, or let the cure drift. This cannabis drying and curing guide is built for indoor growers who want clean flower, stable moisture, and repeatable results - especially in compact spaces where small mistakes hit hard.
Drying and curing are not the same job. Drying removes enough moisture to make the flower safe and workable. Curing is the slow equalization phase that improves texture, aroma, and smoke quality while reducing that harsh, green edge. If drying goes wrong, curing cannot fully rescue it. That is the first rule.
Why drying sets the ceiling
A lot of bad post-harvest advice comes from treating drying like a waiting period. It is not. It is environmental control. Your goal is to slow moisture loss enough that the outer flower does not crisp up while the center stays wet. When the outside dries too fast, chlorophyll breakdown lags behind, aroma gets muted, and the cure becomes uneven.
For most home growers, the sweet spot is a dark space around 60F and 60% relative humidity with gentle air exchange. That number gets repeated a lot because it works, not because it is magic. If your room sits a little warmer or drier, you can still get good flower, but the margin for error gets smaller. In compact cabinets and tents, that margin is often very small.
This is where discipline matters more than gear. You do not need a shrine of gadgets. You need a readable environment, steady airflow, and enough control to avoid spikes.
Build a drying room that matches your space
If you grow in a cabinet, small tent, or spare closet, your drying setup should be separate from your main flowering environment if possible. Drying in the same space where you just flowered can work, but only if you can bring temperature down, reduce light to zero, and keep airflow indirect. A fan pointed at hanging branches is not control. It is overdrying.
Use darkness the whole time. Keep air moving in the room, not blasting directly on the buds. Exchange stale air without creating a windy box. If odor control matters, run filtration, but watch how much your exhaust dries the space. Small enclosures can swing fast. One aggressive fan setting can take you from ideal to brittle in a few hours.
If your home runs dry, a humidifier may be necessary. If your climate is damp, a dehumidifier may be the real hero. It depends on your baseline conditions. The point is not to chase a perfect internet number. The point is to keep the room stable enough that the plant dries gradually instead of unevenly.
Wet trim or dry trim
There is no universal winner here. In smaller indoor grows, dry trim usually gives a slower dry, which helps preserve aroma and gives you more control. Leaving more leaf on the plant during hang also buffers moisture loss. That is useful in dry homes and small tents that want to pull water out too quickly.
Wet trim makes sense when humidity is high and mold risk is real, or when your plant structure is so dense that airflow through hanging material is poor. The trade-off is speed. Wet-trimmed flower tends to dry faster, sometimes too fast, especially in low-humidity spaces.
For beginners, the safer choice is often a partial trim at harvest, then a final trim after dry. Remove large fan leaves, clean up obvious excess, and let the flower hang with enough plant material attached to slow the process down.
How to hang and how long to dry
Whole-plant hanging slows the dry the most. Hanging individual branches speeds it up. Again, it depends on your room. If your drying area runs warmer or drier than ideal, hang larger sections. If your room is humid and still, smaller branches may be safer.
Expect drying to take about 7 to 14 days. In a tight, well-controlled setup, 10 to 12 days is often a very good result. Do not chase speed. Flower that dries in four days usually tells the same story every time - weak nose, rough smoke, and wasted potential.
The old stem-snap test is useful, but not enough by itself. Small stems should begin to snap rather than fold, while larger stems may still bend a bit. The outside of the buds should feel dry but not crispy. If they feel papery, you are late. If they feel soft and damp with no structure, they are early.
The handoff from drying to cure
This is the moment growers rush, and it is where plenty of jars get ruined. Once the flower has dried enough to jar, trim it if you have not already, then move it into airtight containers. Glass jars work well because they are simple, readable, and easy to reopen. Fill them loosely. Packed jars trap too much moisture and reduce airflow around the buds.
For the first 24 hours, do not assume you nailed it. Moisture from the center of the flower will move outward and raise the humidity inside the jar. That is normal. What matters is the range you settle into.
A small hygrometer in the jar helps cut through guesswork. For curing, you generally want the jar to stabilize around 58% to 62% relative humidity. Around 60% is a comfortable target for many growers. If jars climb above 65%, the flower was too wet. Take it back out and let it air dry before trying again. If the jar sits under 55%, you likely overdried. The cure can still help somewhat, but the texture and aromatic expression may never fully recover.
Cannabis drying and curing guide for the first three weeks
The first week of cure is active management. Open the jars once or twice a day for a short period if humidity is in range. This is often called burping, but the goal is not ritual. The goal is moisture balancing and fresh air exchange. If your jars are holding steady around 60% to 62%, brief openings are enough.
If humidity spikes after sealing, leave the lid off longer or return the buds to a rack for several hours before jarring again. Do not let pride make the call. If they are too wet, they are too wet.
By week two, the smell usually starts changing. Fresh-cut grass notes fade. The flower smells more like the cultivar again, not like damp plant matter. Texture also improves. Buds should feel springy, not spongey and not brittle.
By week three, many home growers are in a good place to smoke and assess. That said, some flower keeps improving for four to eight weeks if storage conditions stay steady. Dense, resin-heavy buds often benefit from more time. Airy flower may peak sooner. It depends on structure, moisture, and how cleanly the dry was handled.
Common finish-stage mistakes
The biggest mistake is drying too fast. The second is jarring too wet. After that, most problems come from poor environmental readability.
A few patterns show up again and again. Growers dry in a room that is too warm because it is convenient. They point fans directly at the buds because they are afraid of mold. They trust the outside feel of the flower and ignore the moisture still trapped in the center. Or they keep opening jars constantly, which disrupts stability instead of improving it.
Another common issue is trying to fix weak flower with an extended cure. Cure can refine good flower. It does not turn badly dried flower into top-shelf material. If terpenes were cooked off in a hot room or the buds were crisped in six days, the ceiling is already lower.
Small-space growers need tighter workflow
Compact indoor growers do not get the luxury of sloppy transitions. A cabinet or small tent can swing temperature and humidity fast, and the drying stage is less forgiving than veg or flower because the plant can no longer regulate itself. Once it is cut, the environment is driving the result.
That is why a structured finish matters. Know where the plant is going before harvest day. Know whether you are whole-plant hanging or sectioning branches. Know how you will monitor temperature and humidity. Know what you will use for cure containers and where they will live. Clarity beats improvisation every time.
If you are growing for personal stash, not internet bragging rights, this is where craft shows up. Dense aroma, smooth smoke, and flower that stays stable in the jar come from post-harvest discipline, not just a decent run in flower.
Treat drying and curing like part of the grow, not the epilogue. If your room is stable, your timing is patient, and your jars are telling a clear story, you are on the right track. That is how you turn a harvest into something worth keeping.