Cannabis Light Distance for Compact Grows
Set cannabis light distance using plant signals, PPFD, and cabinet limits. Avoid bleaching, stretch, and wasted canopy space in small indoor grows now.
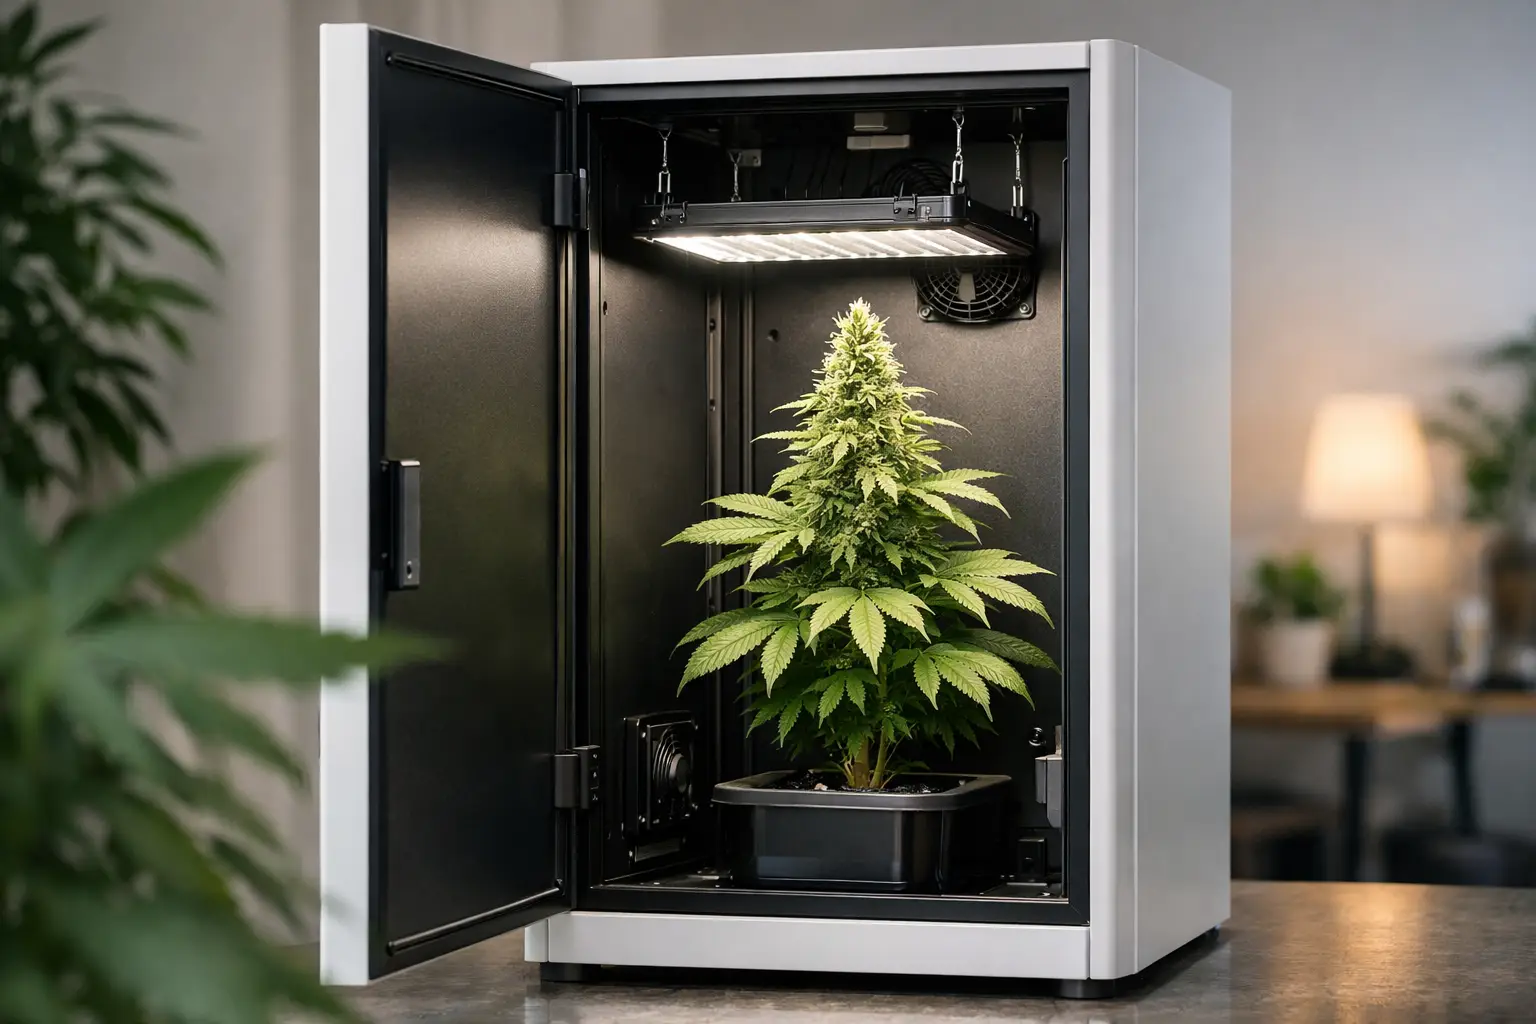
A small grow cabinet does not give you much room to recover from bad cannabis light distance. Hang the fixture too high and your plant stretches into the limited headroom you need for flowers. Hang it too low and the top leaves bleach, taco, or stall while the rest of the plant is still asking for more light. This is not a place for guesswork or a manufacturer chart treated as law.
In a compact grow, light distance is a working relationship between fixture power, canopy height, temperature, airflow, plant age, and daily light exposure. The right number is the one that gives the canopy enough usable intensity without creating stress you cannot control. Clarity, not chaos.
Start With the Light, Not a Fixed Distance
Most LED manufacturers publish a hanging-height chart. Use it as a safe starting point, not a finish line. A 100-watt bar-style LED, a 100-watt blurple fixture, and a 100-watt board can produce very different light patterns and heat at the canopy. Lens angle, diode efficiency, dimmer setting, and cabinet wall reflectivity all change the result.
For seedlings and early vegetative growth, begin conservatively. In many compact cabinets, that means placing a dimmed LED roughly 20 to 30 inches above the canopy, if the cabinet allows it. As the plant establishes roots and begins active growth, lower the fixture or raise output in small steps. During flowering, many modern LEDs land closer to 12 to 18 inches above an even canopy, but the fixture's actual output matters more than the tape measure.
Distance is only one control. Dimming is the other. If your cabinet is short, do not keep forcing the light higher until it is weak at the canopy. Dim the fixture and preserve a workable gap. Conversely, if the fixture must sit close because the cabinet is tight, lower power before you assume the plant can simply adapt.
Use PPFD to Set Cannabis Light Distance
PPFD measures the photosynthetic light reaching a square meter of canopy each second. It is not perfect, but it gives you a far better reference than “this looks bright.” A PAR meter is best. A quality phone app with a proper diffuser and the correct LED setting can provide a useful ballpark for a home grower, especially when you use it consistently.
For a straightforward compact run, these are sensible working ranges:
- Seedlings and newly rooted young plants: about 150 to 300 PPFD.
- Established vegetative growth: about 300 to 500 PPFD.
- Early flower: about 500 to 700 PPFD.
- Mid to late flower without supplemental CO2: roughly 700 to 900 PPFD, provided the environment and nutrition are stable.
These are not targets you must chase. A healthy plant under 650 PPFD with good leaf posture, stable temperature, and a clean finish is better than a stressed plant under 900 PPFD because the grower wanted a bigger number.
Daily light integral, or DLI, adds the missing piece: time. PPFD is the rate; DLI is the total dose over the day. A plant receiving 700 PPFD for 12 flowering hours gets a substantially different dose than one receiving 700 PPFD for 18 vegetative hours. This is why copying someone else’s light setting without copying their schedule produces confusing results.
For a 12/12-from-seed cabinet grow, flower-level intensity arrives earlier than it does in a conventional long-veg grow. Still, do not blast a small seedling with peak flower power on day one. Establish roots, read the plant, then build intensity as the canopy earns it.
Measure the Whole Canopy
One center reading is not a lighting plan. Measure the center, the four corners, and any spot directly beneath a strong diode cluster. Compact cabinets often have reflective walls that improve edge readings, but they can also create hot spots near the center.
Your goal is an even, usable canopy. If the center reads 850 PPFD and the edges read 350, the center is dictating your ceiling while half the plant is underlit. Raising the fixture slightly can reduce the center spike and improve distribution. That trade-off may produce better flower quality than keeping the light low for the highest possible center reading.
Read the Plant Before You Make Another Adjustment
A light meter tells you what the fixture is delivering. The plant tells you whether the entire system can use it.
Healthy leaves usually sit flat to slightly angled upward during the light period. New growth should emerge with normal color and shape. In a stable environment, the canopy should look alert rather than strained.
Light stress often starts at the highest points. Watch for upward-curling leaf edges, washed-out or lime-green tops, crisp patches near the upper canopy, and leaves that point sharply upward while the rest of the plant looks thirsty or rigid. Bleaching is a late signal, not a challenge to push through. Raise the fixture a few inches or reduce output, then give the plant several days to respond.
Do not confuse every pale top with excess light. Nitrogen shortage, root-zone pH drift, micronutrient lockout, and overly warm leaf temperatures can create similar symptoms. In DWC, root-zone problems can move fast and show up at the top of the plant just as quickly. Before changing light height, check reservoir temperature, pH, EC, water level, and air stone performance. One problem at a time. Random adjustments create the chaos you are trying to escape.
Stretch is the other side of the equation. Excessive internode spacing, weak stems, and a canopy reaching hard toward the fixture can mean insufficient intensity. But it can also come from genetics, high temperatures, or a light spectrum that encourages stretching. If the plant is stretching, first confirm that your PPFD is genuinely low at the canopy. Then increase output or lower the fixture gradually, not all at once.
Cabinet Limits Change the Rules
In a tall tent, you can often solve a lighting issue by moving the fixture. In a cabinet, you may only have a few inches between the light, the plant, and the carbon filter. That makes canopy management part of light management.
Keep the canopy level. A single tall cola can sit in a hot zone and force you to raise the whole fixture, reducing light for every lower site. Early low-stress training, selective branch positioning, and modest plant size are not cosmetic techniques in a small enclosure. They preserve your usable light zone.
This is especially relevant for 12/12 from seed. The method suits compact spaces because it limits vegetative sprawl, but plants can still stretch hard during early flower. Set the fixture at a safe, measured height before the stretch begins. Keep enough headroom to respond, and avoid major training once flowers are building unless there is a clear reason.
Temperature also tightens the margin. An LED may not feel hot in your hand, yet intense light raises leaf temperature. If your cabinet air is already warm or airflow is weak, a previously acceptable PPFD can become stressful. Check leaf temperature with an infrared thermometer if you have one, but do not ignore simple observation: upper leaves that curl while lower leaves remain normal are telling you something.
A Simple Adjustment Workflow
Make light changes in controlled increments. Change either height or dimmer output, not both, unless the plant is clearly stressed. A 10 percent power adjustment or a two-inch height change is usually enough to create a readable result.
After an adjustment, inspect the canopy at the same point in the light cycle for two to three days. Look at the newest growth and the highest leaves, not damage that occurred before the change. Keep brief notes on fixture height, dimmer percentage, PPFD, cabinet temperature, humidity, and plant response. You do not need a laboratory logbook. You need enough records to stop repeating mistakes.
As flower develops, resist the urge to keep increasing intensity simply because the plant is older. If flowers are stacking, leaves remain functional, and the environment is stable, hold the setting. Late-flower light stress can cost aroma and finish quality while giving little in return. Craft is knowing when to stop pushing.
The best cannabis light distance is not a magic number printed on a box. It is a repeatable setting your cabinet, fixture, and plant can support from seedling through harvest. Build that setting with measurements, plant signals, and a level canopy, then protect it with disciplined environmental control. Your future harvest will benefit more from a readable grow than a heroic one.